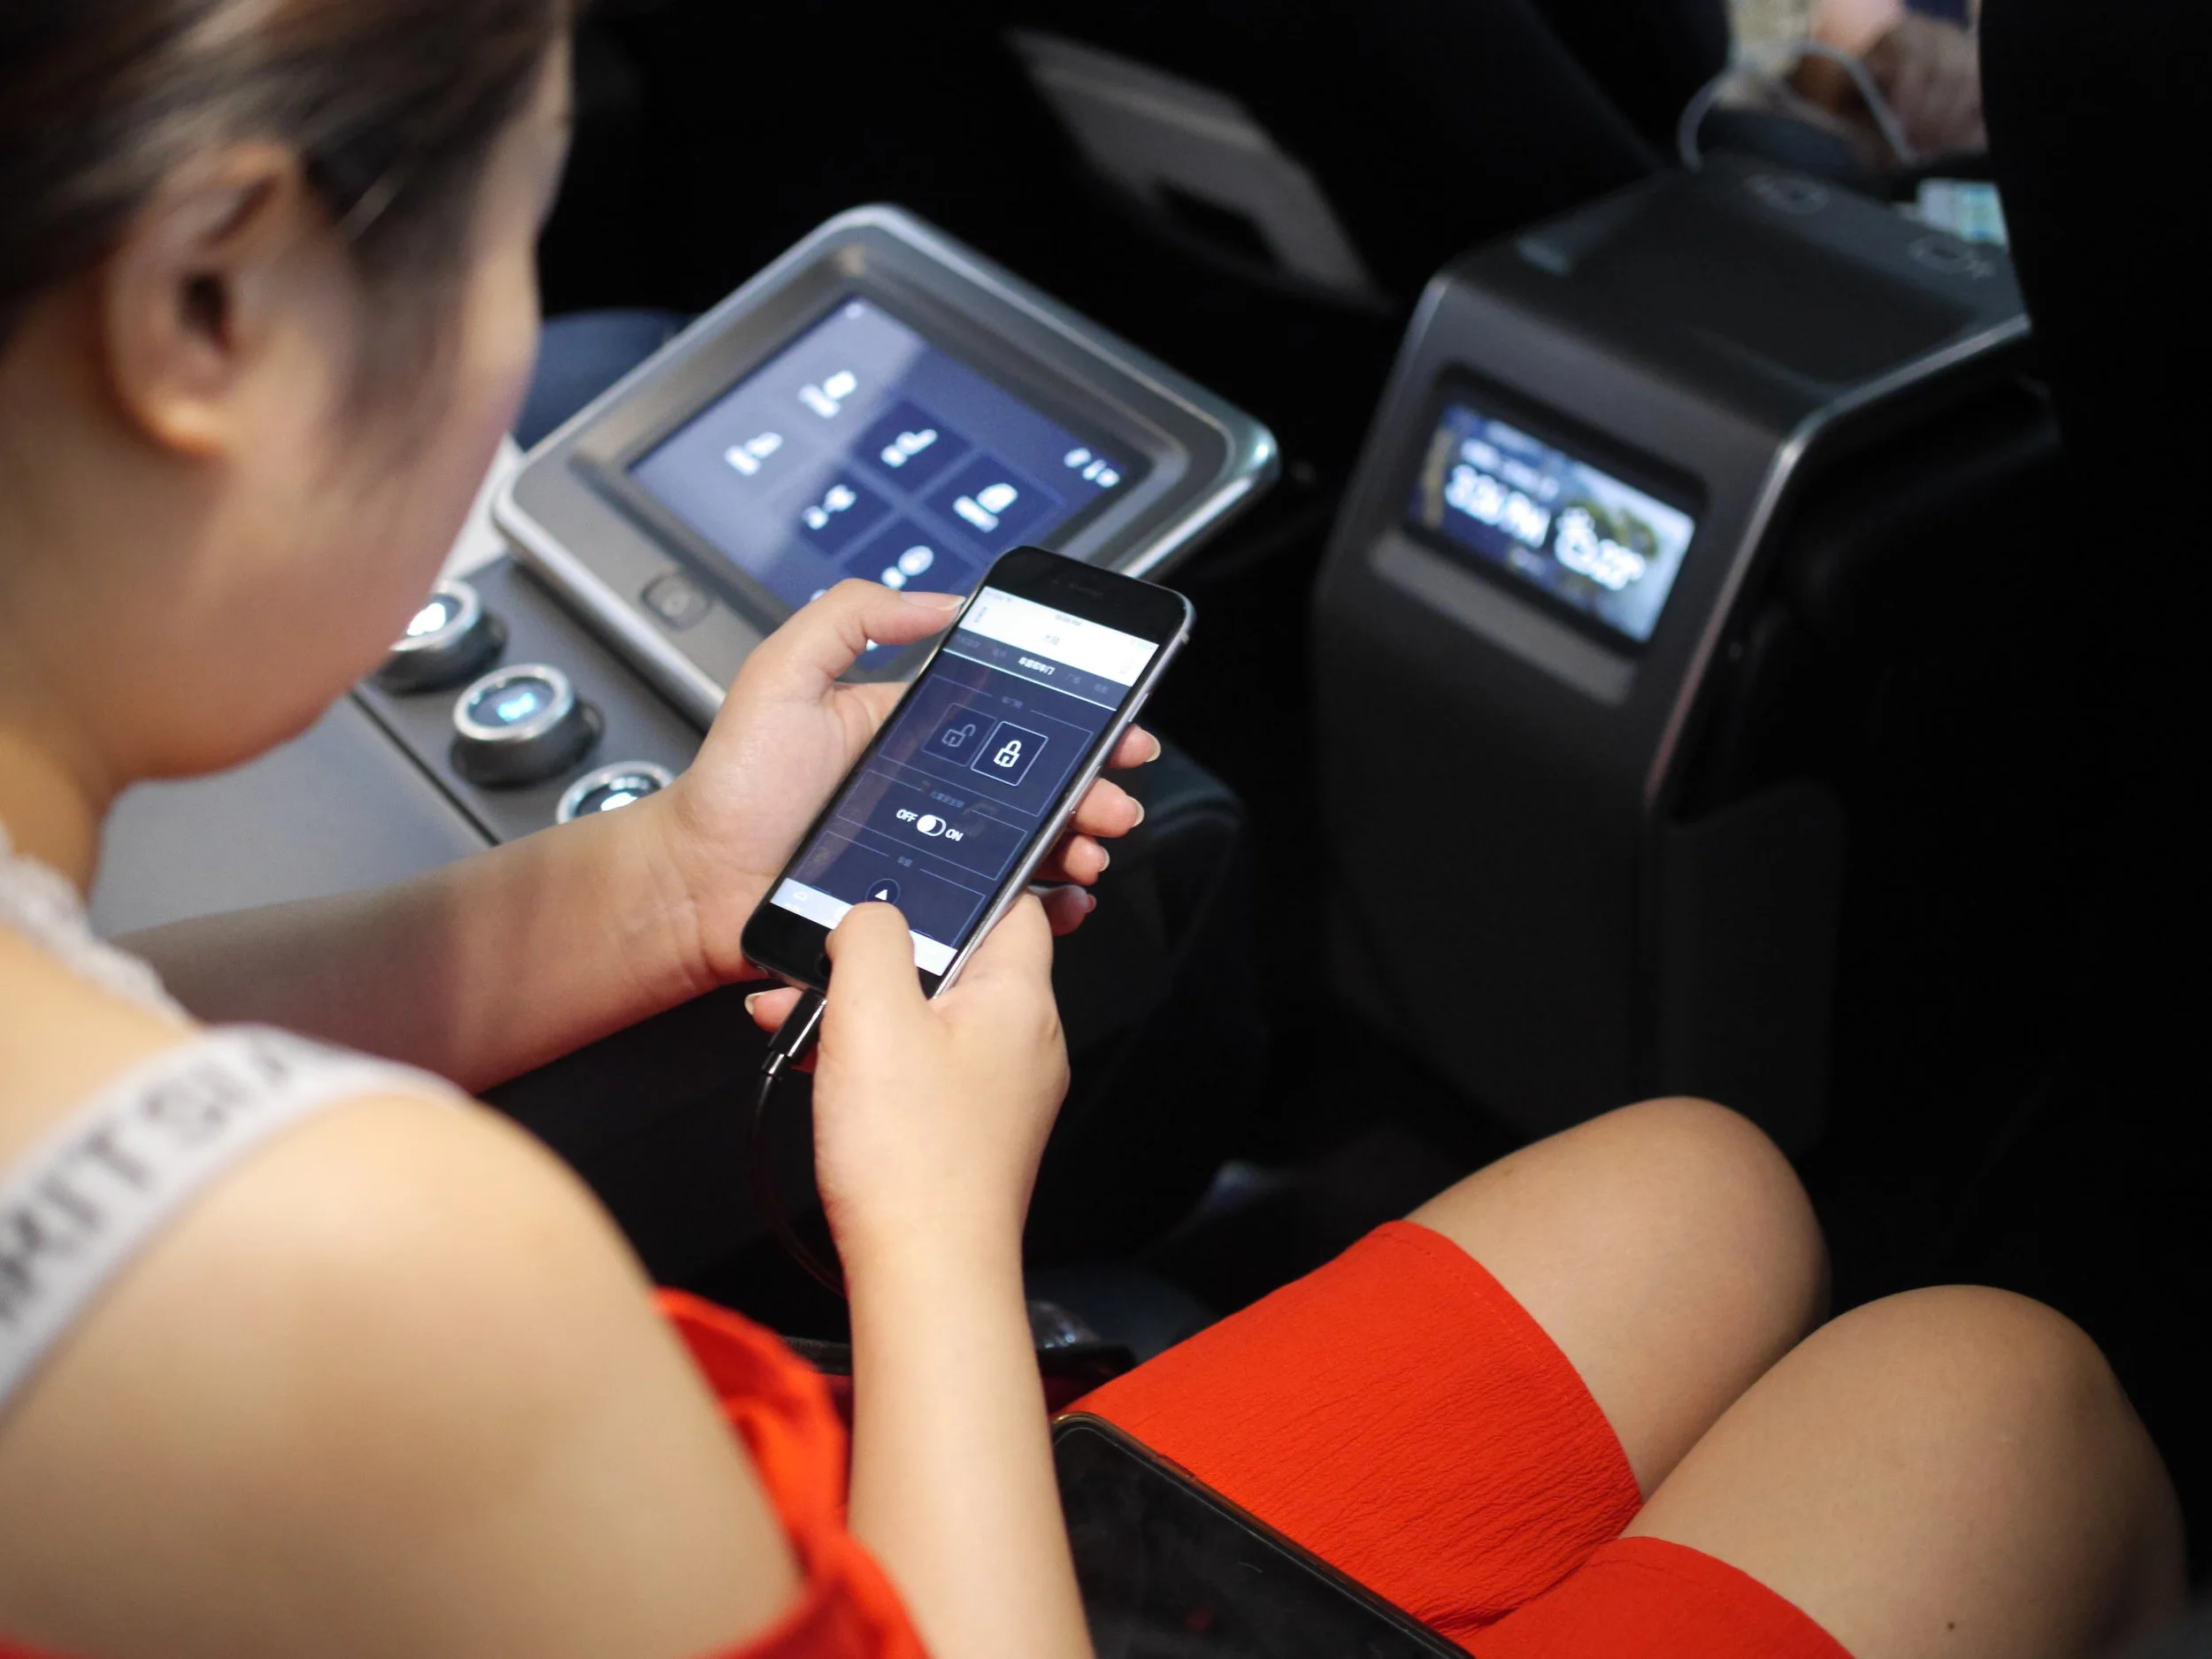
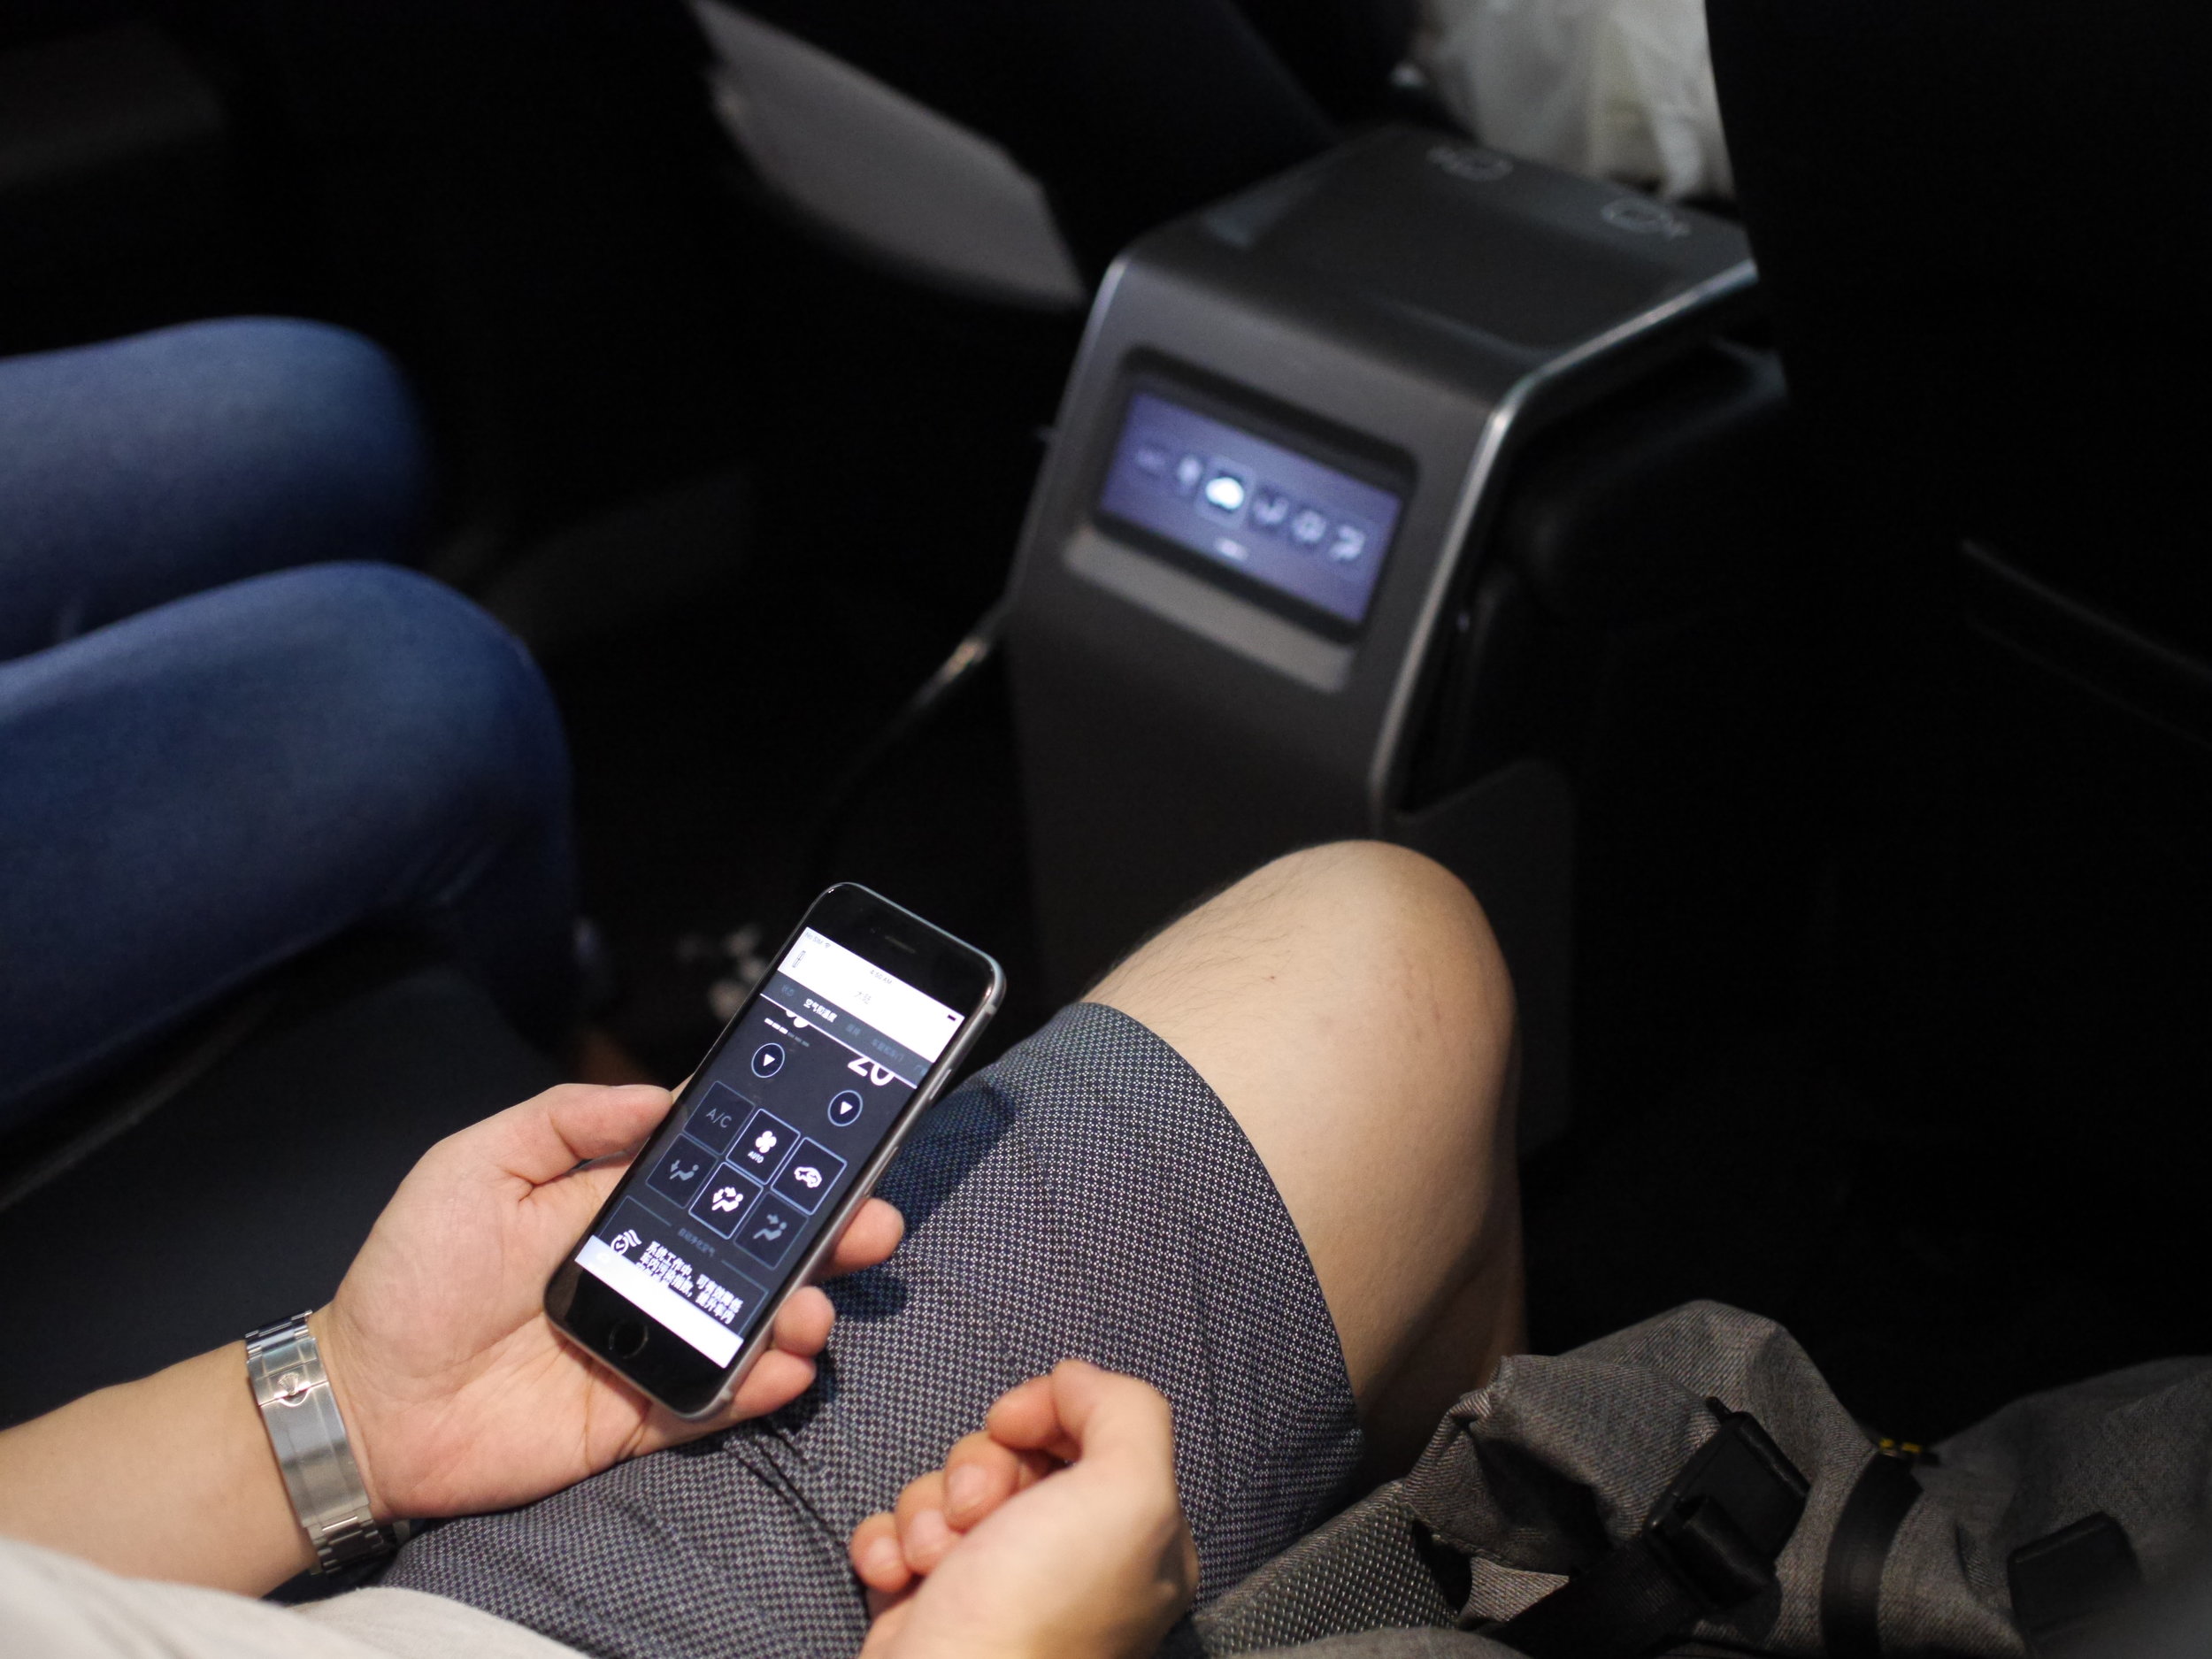
2020 Lincoln Continental UX (2o17)
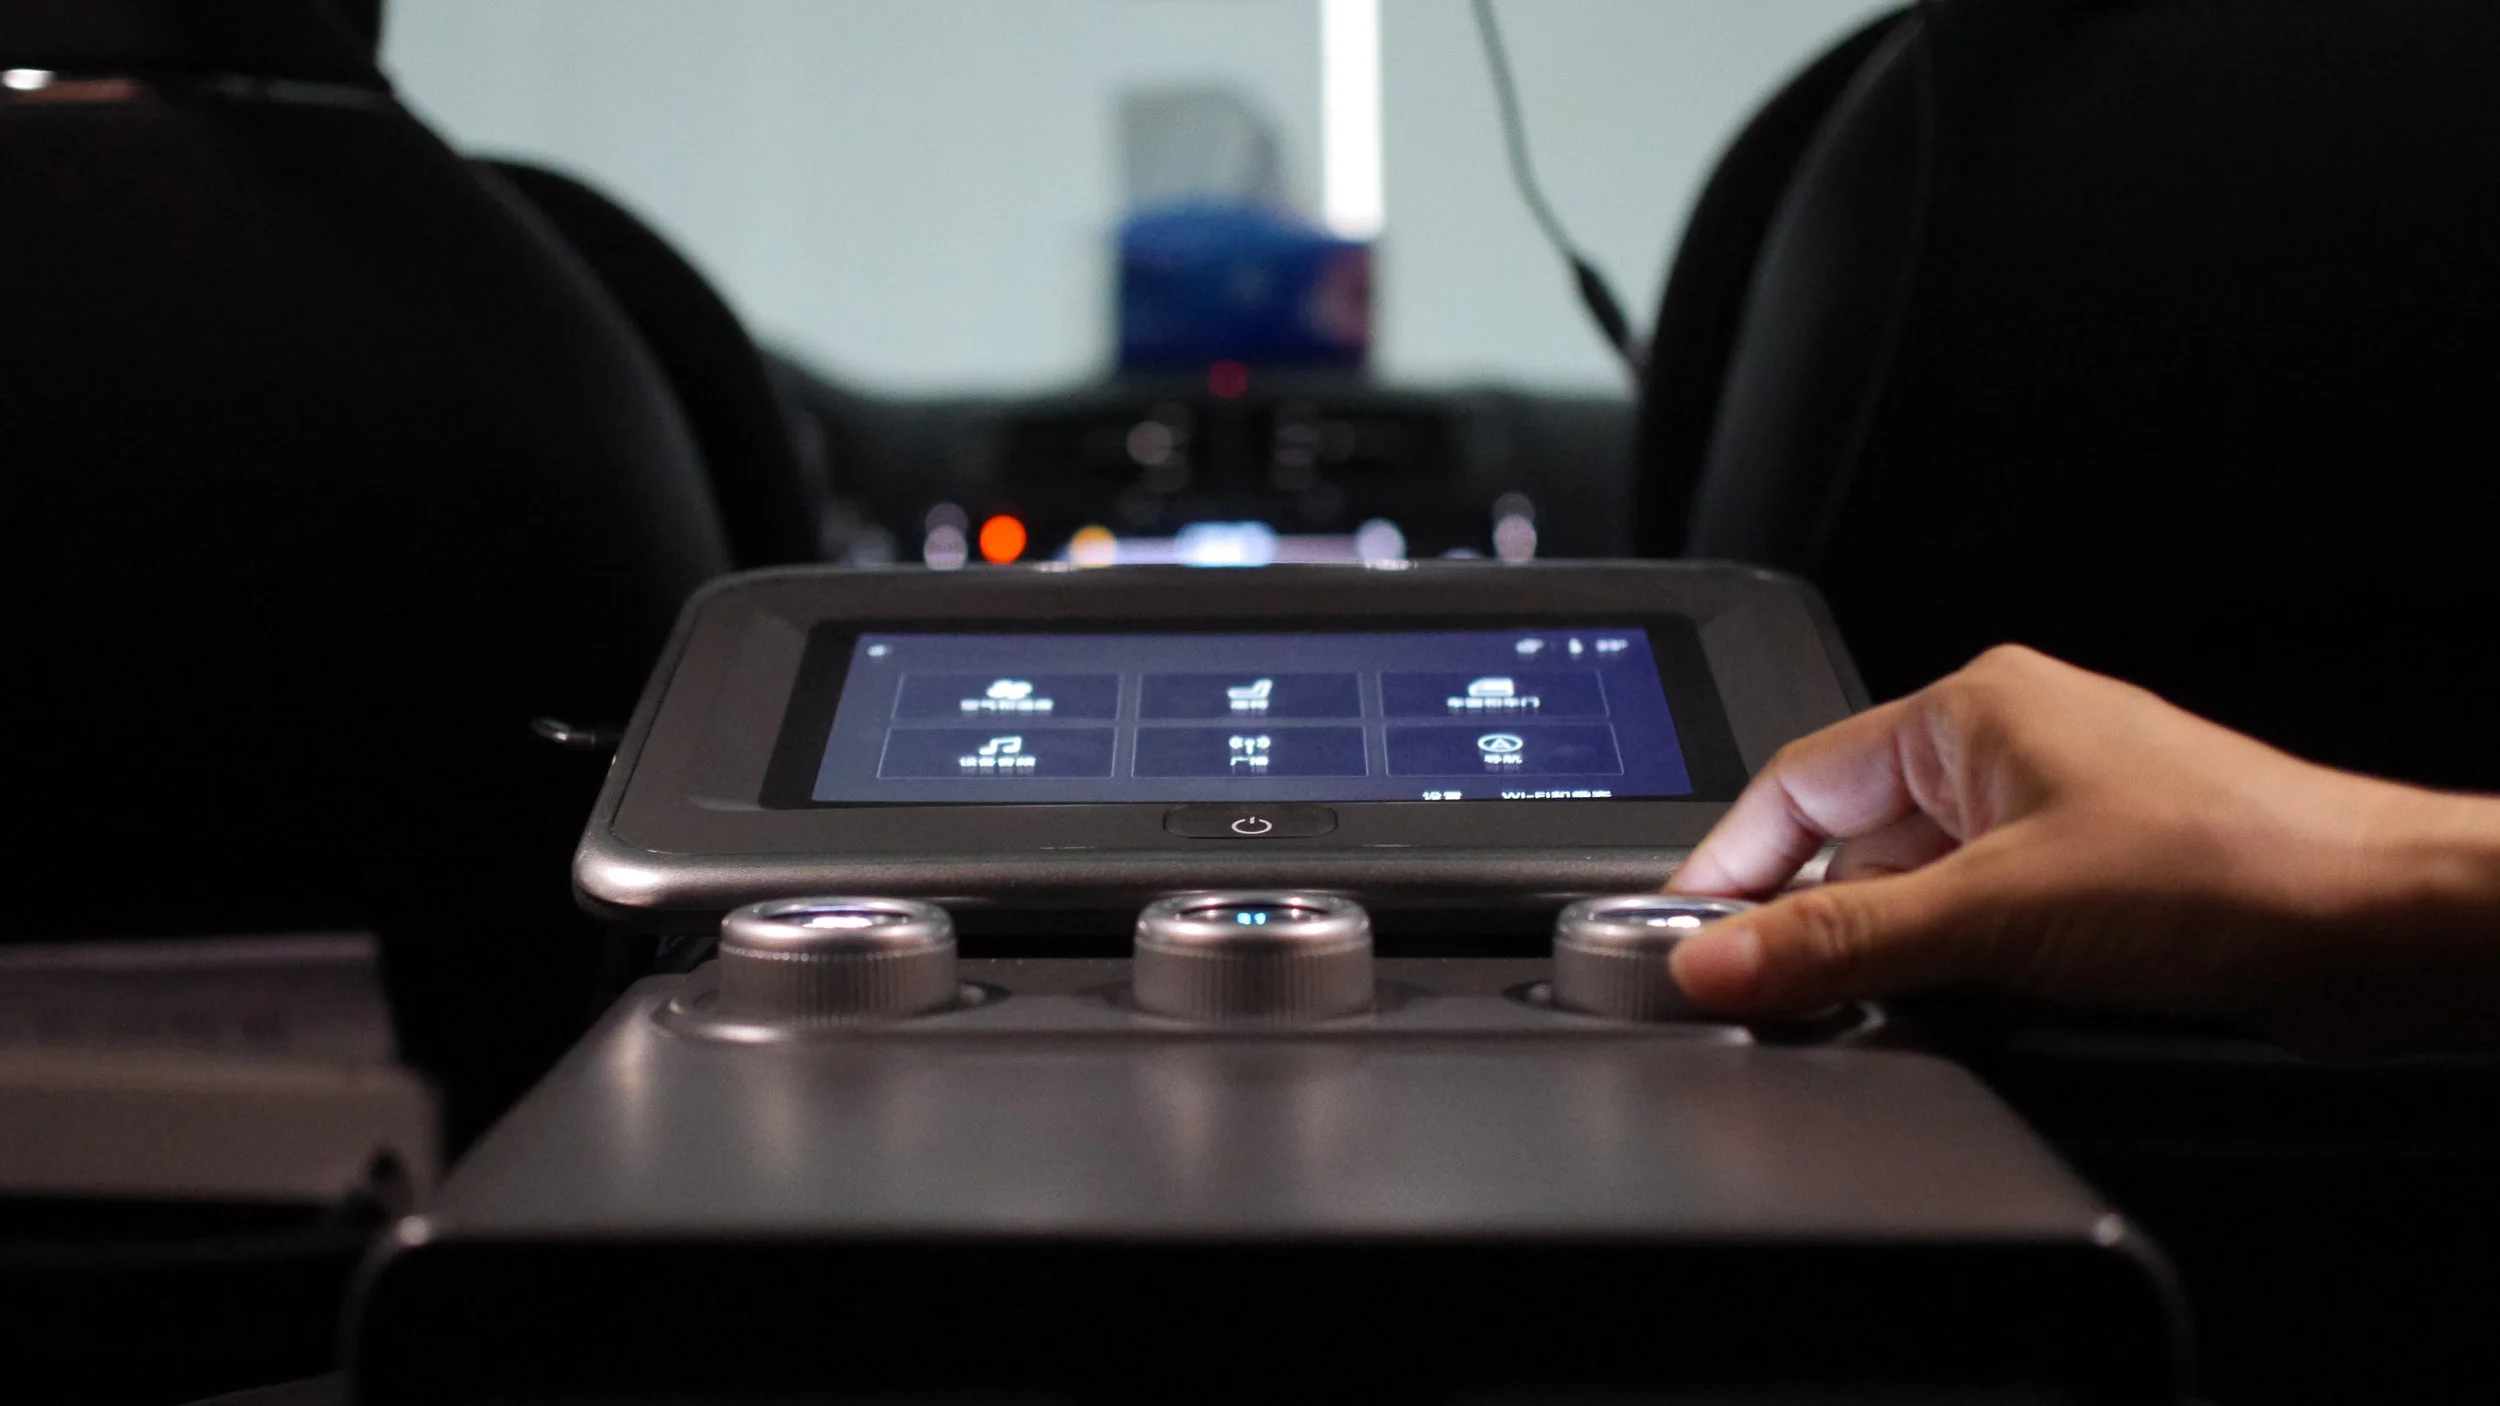
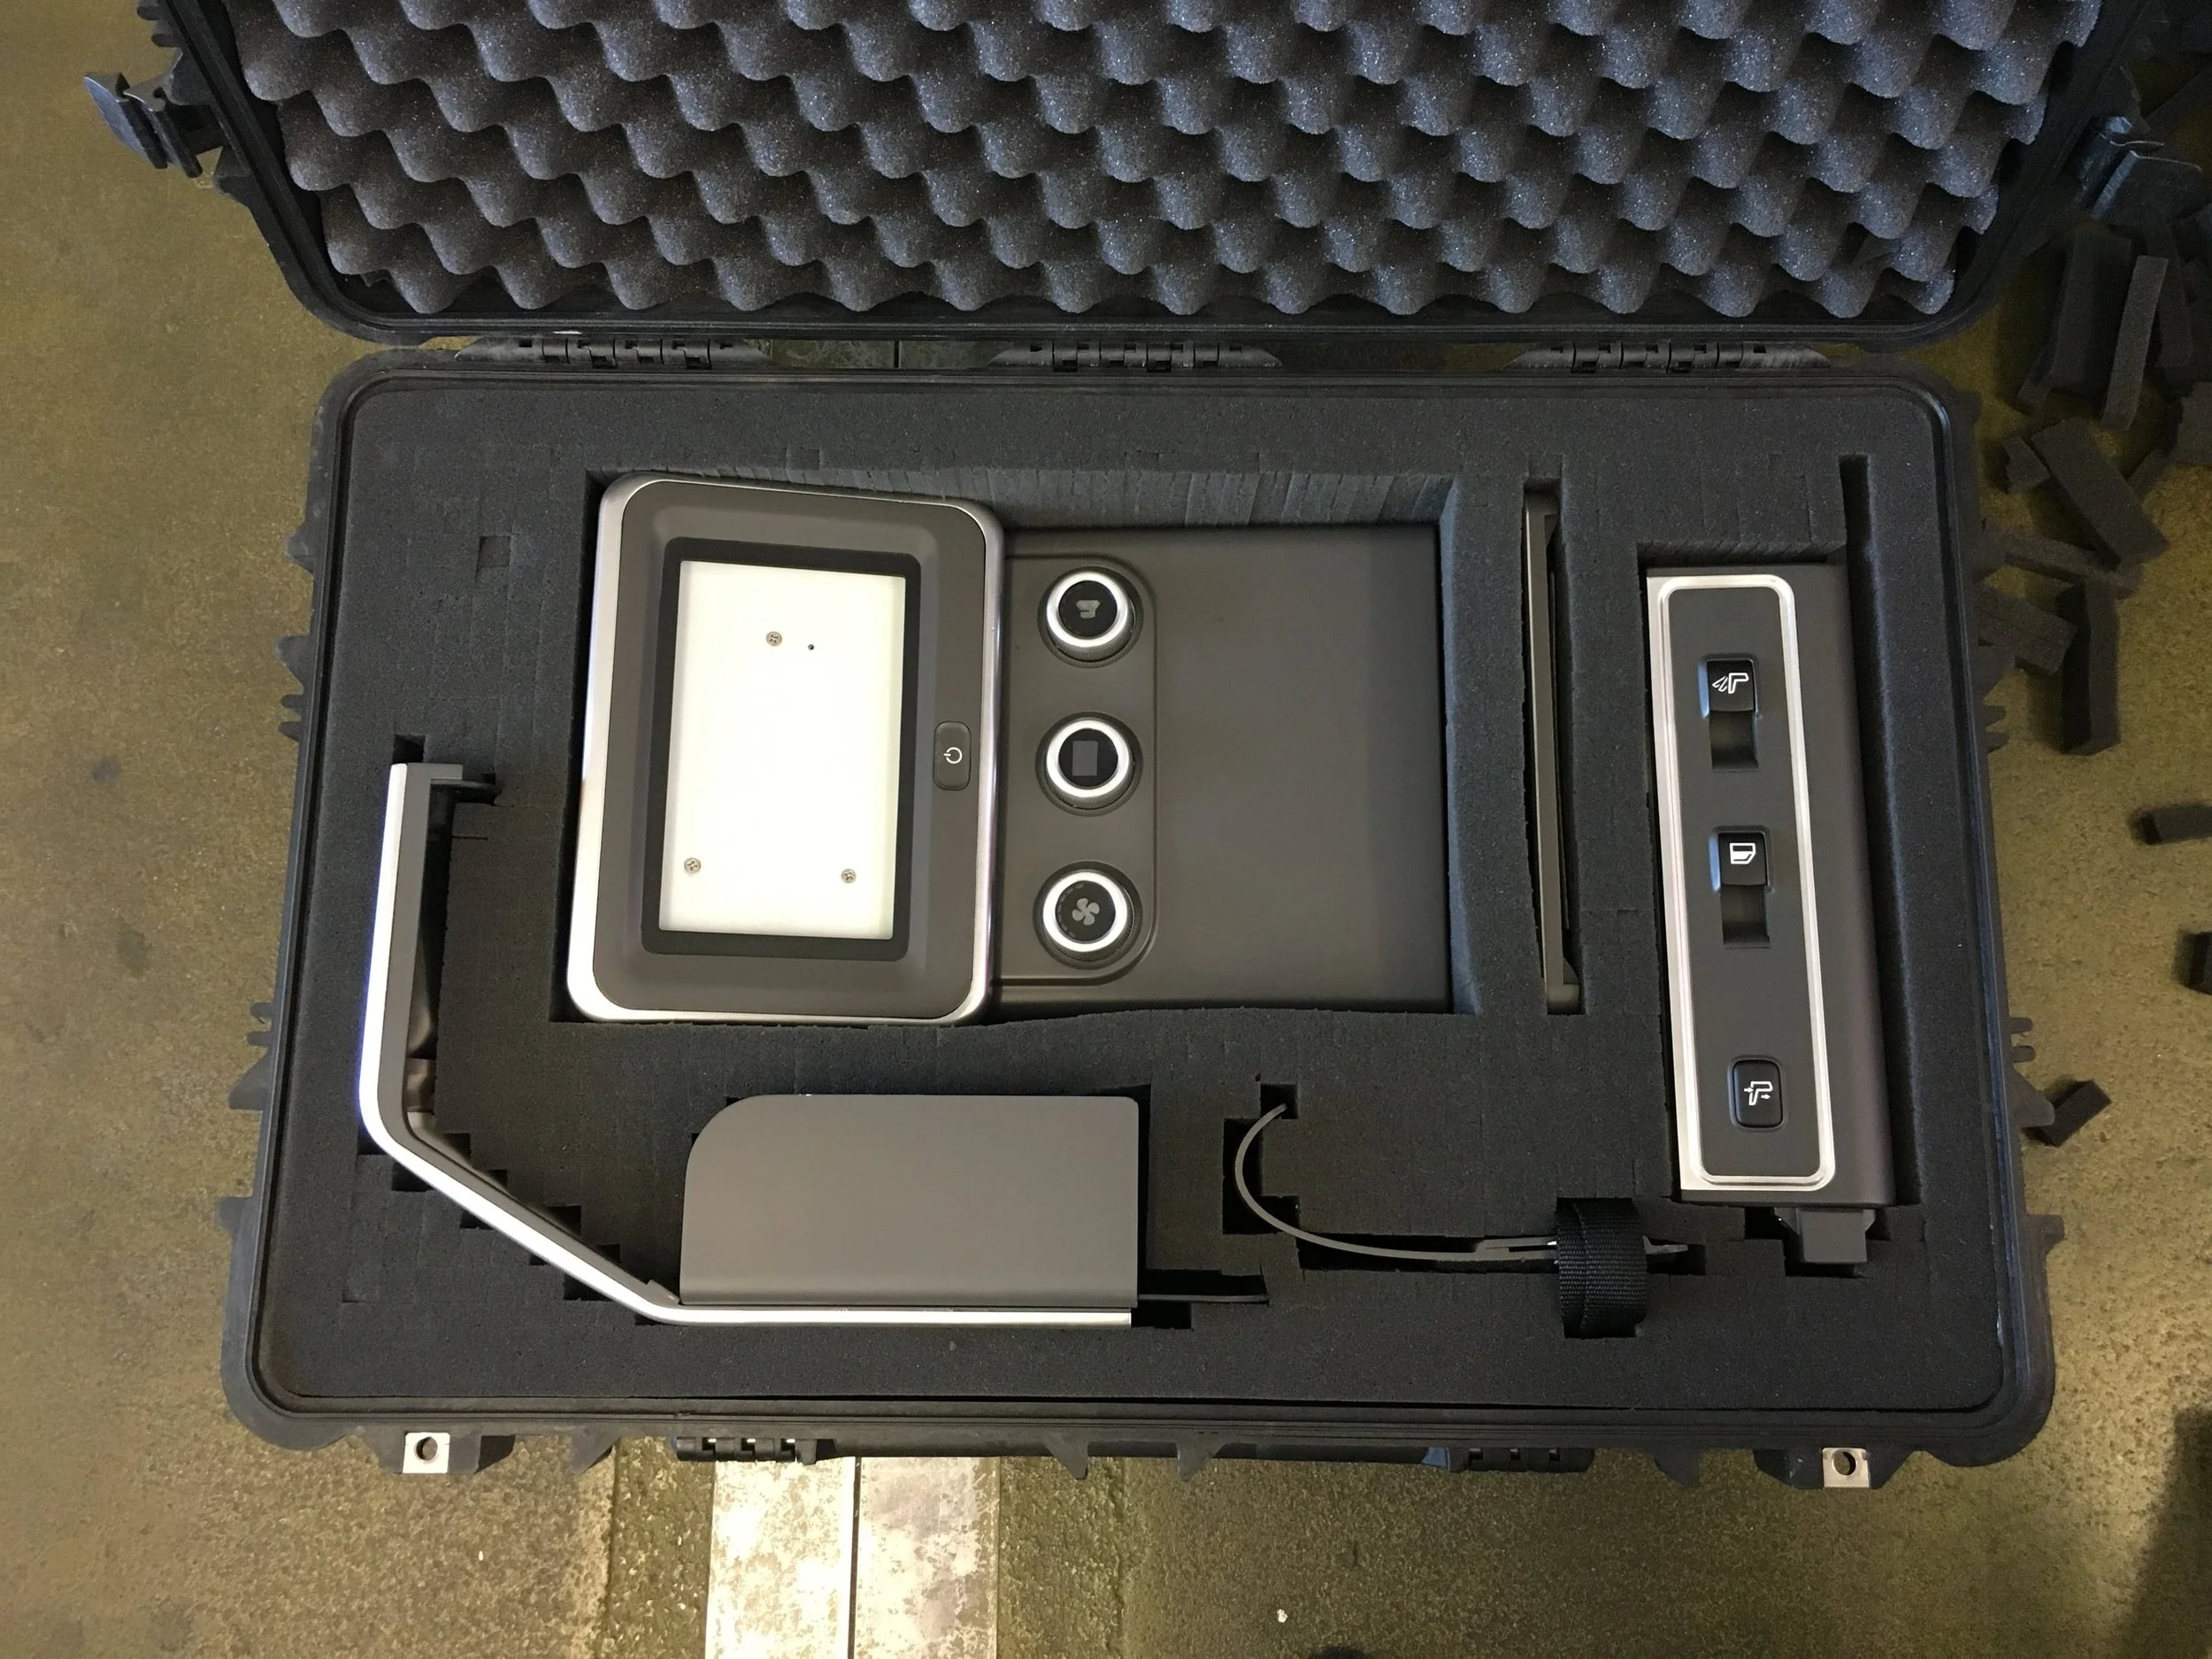
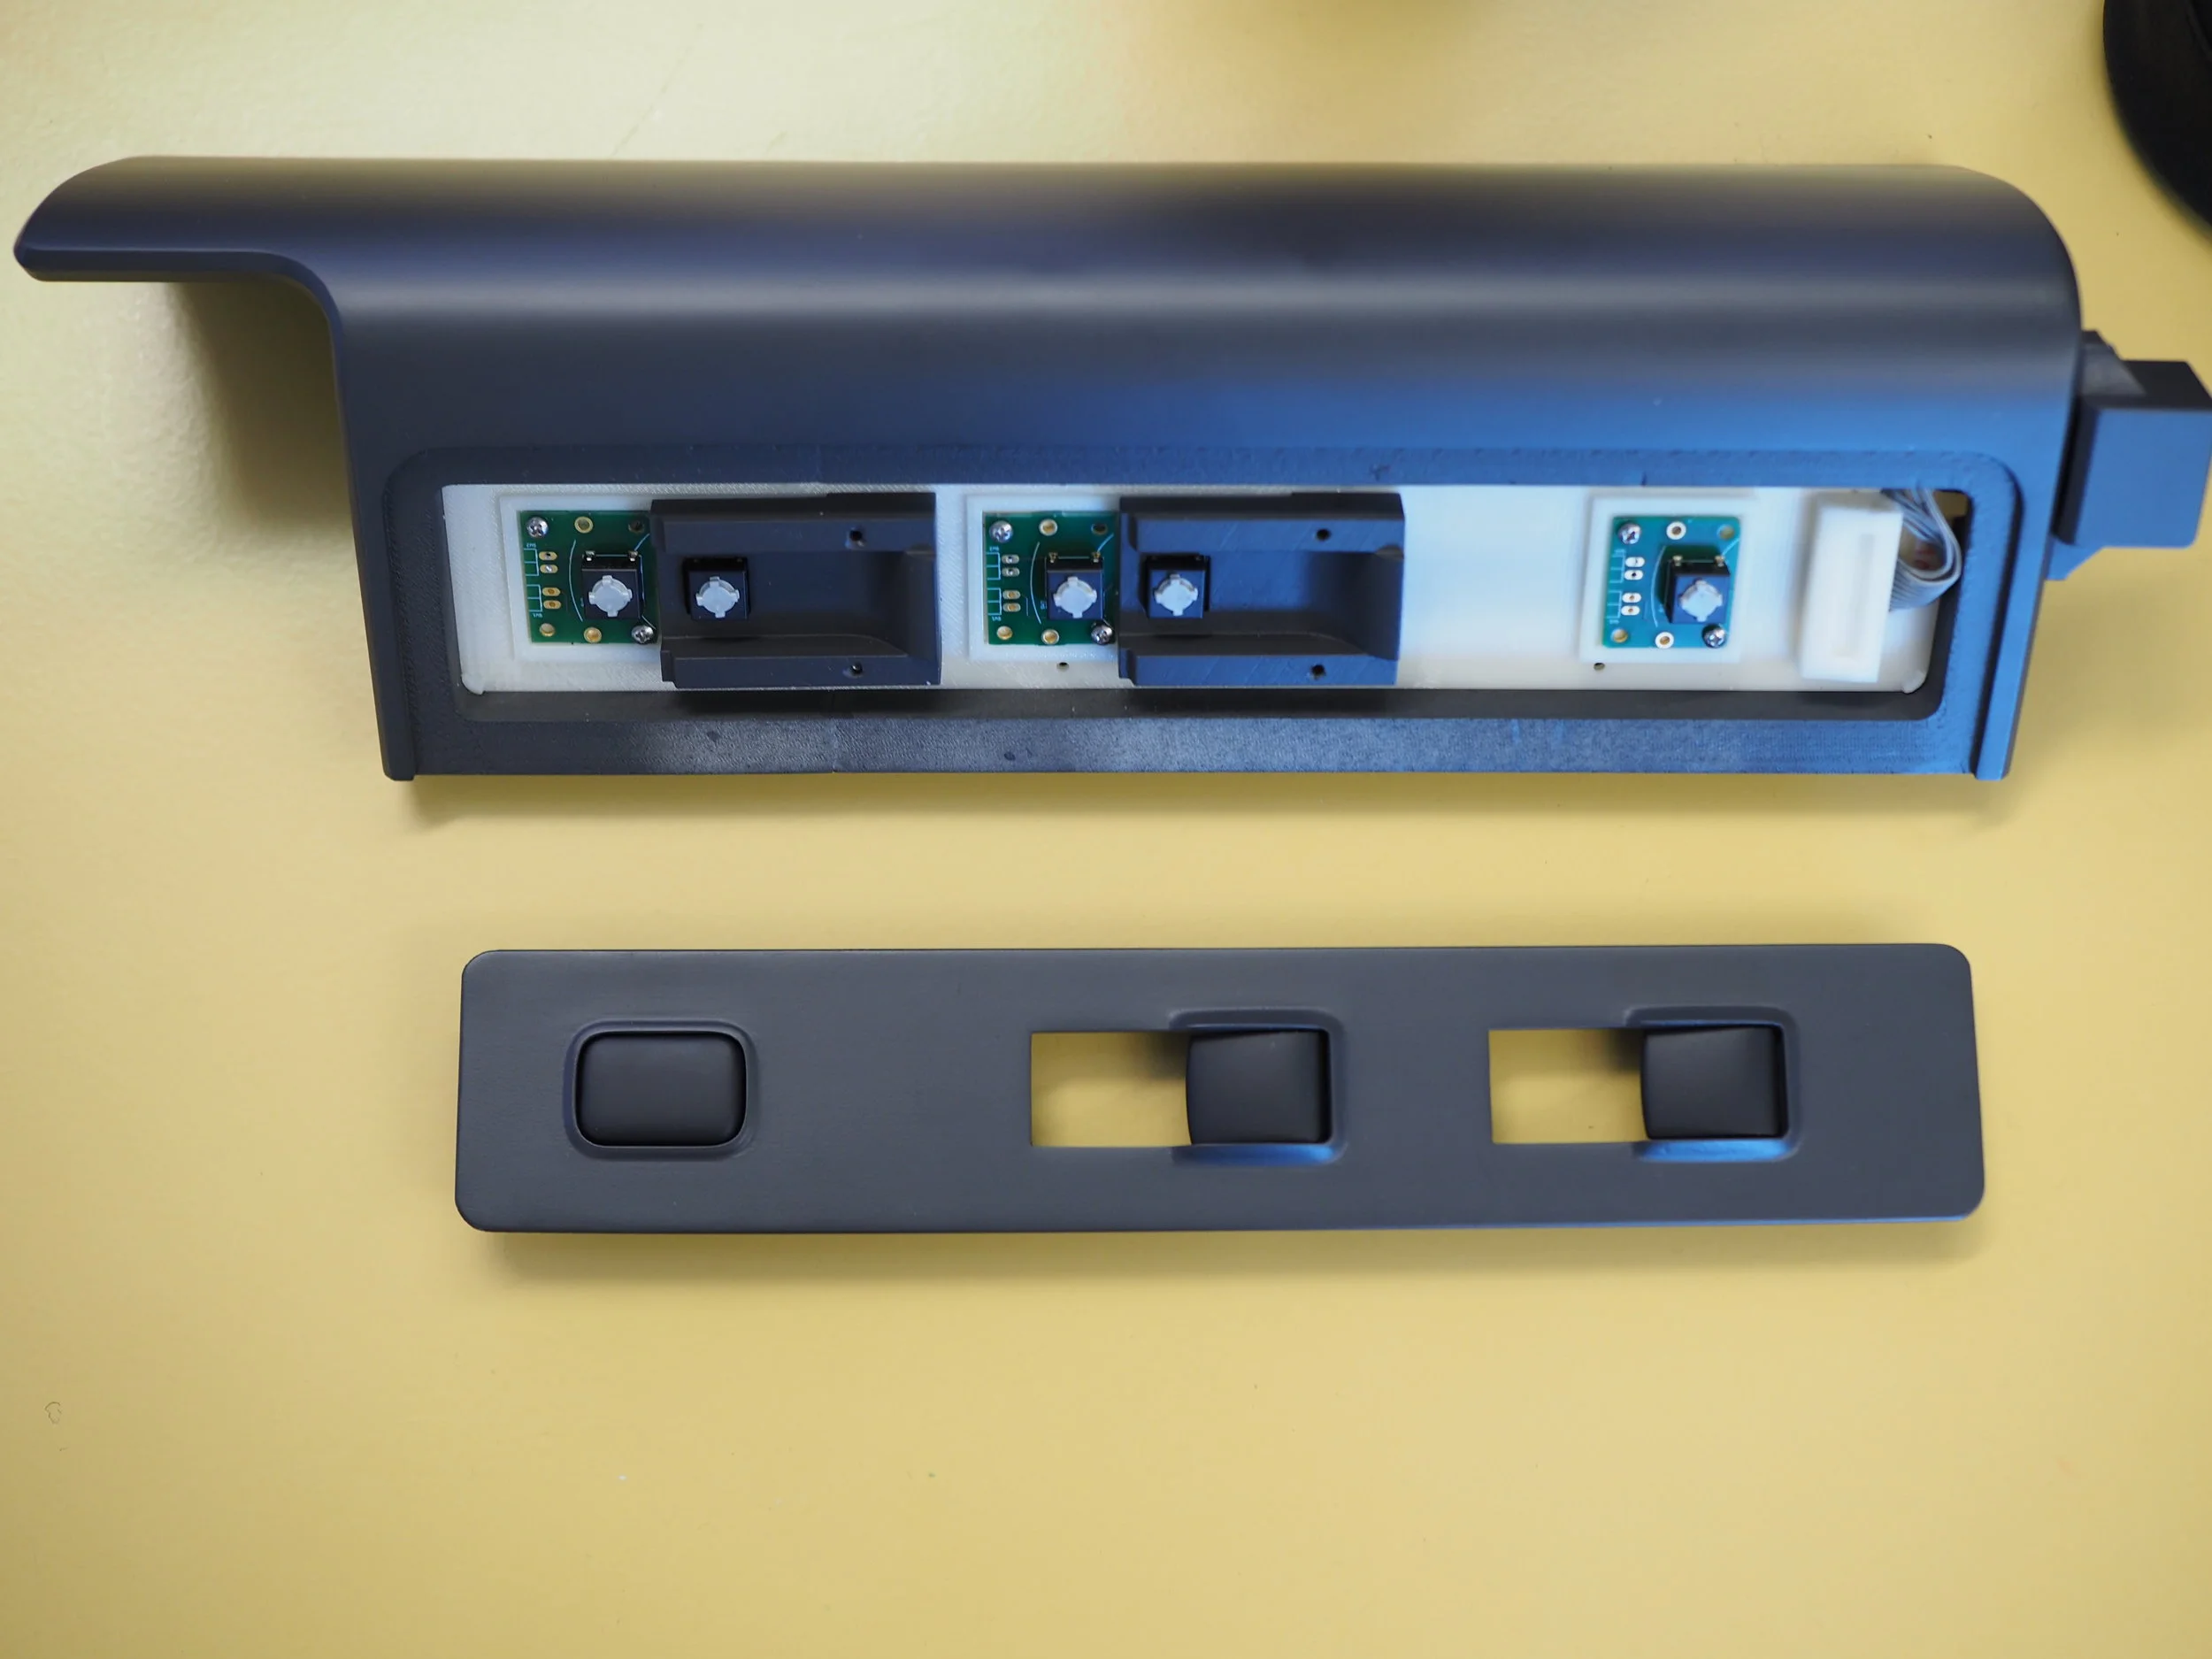
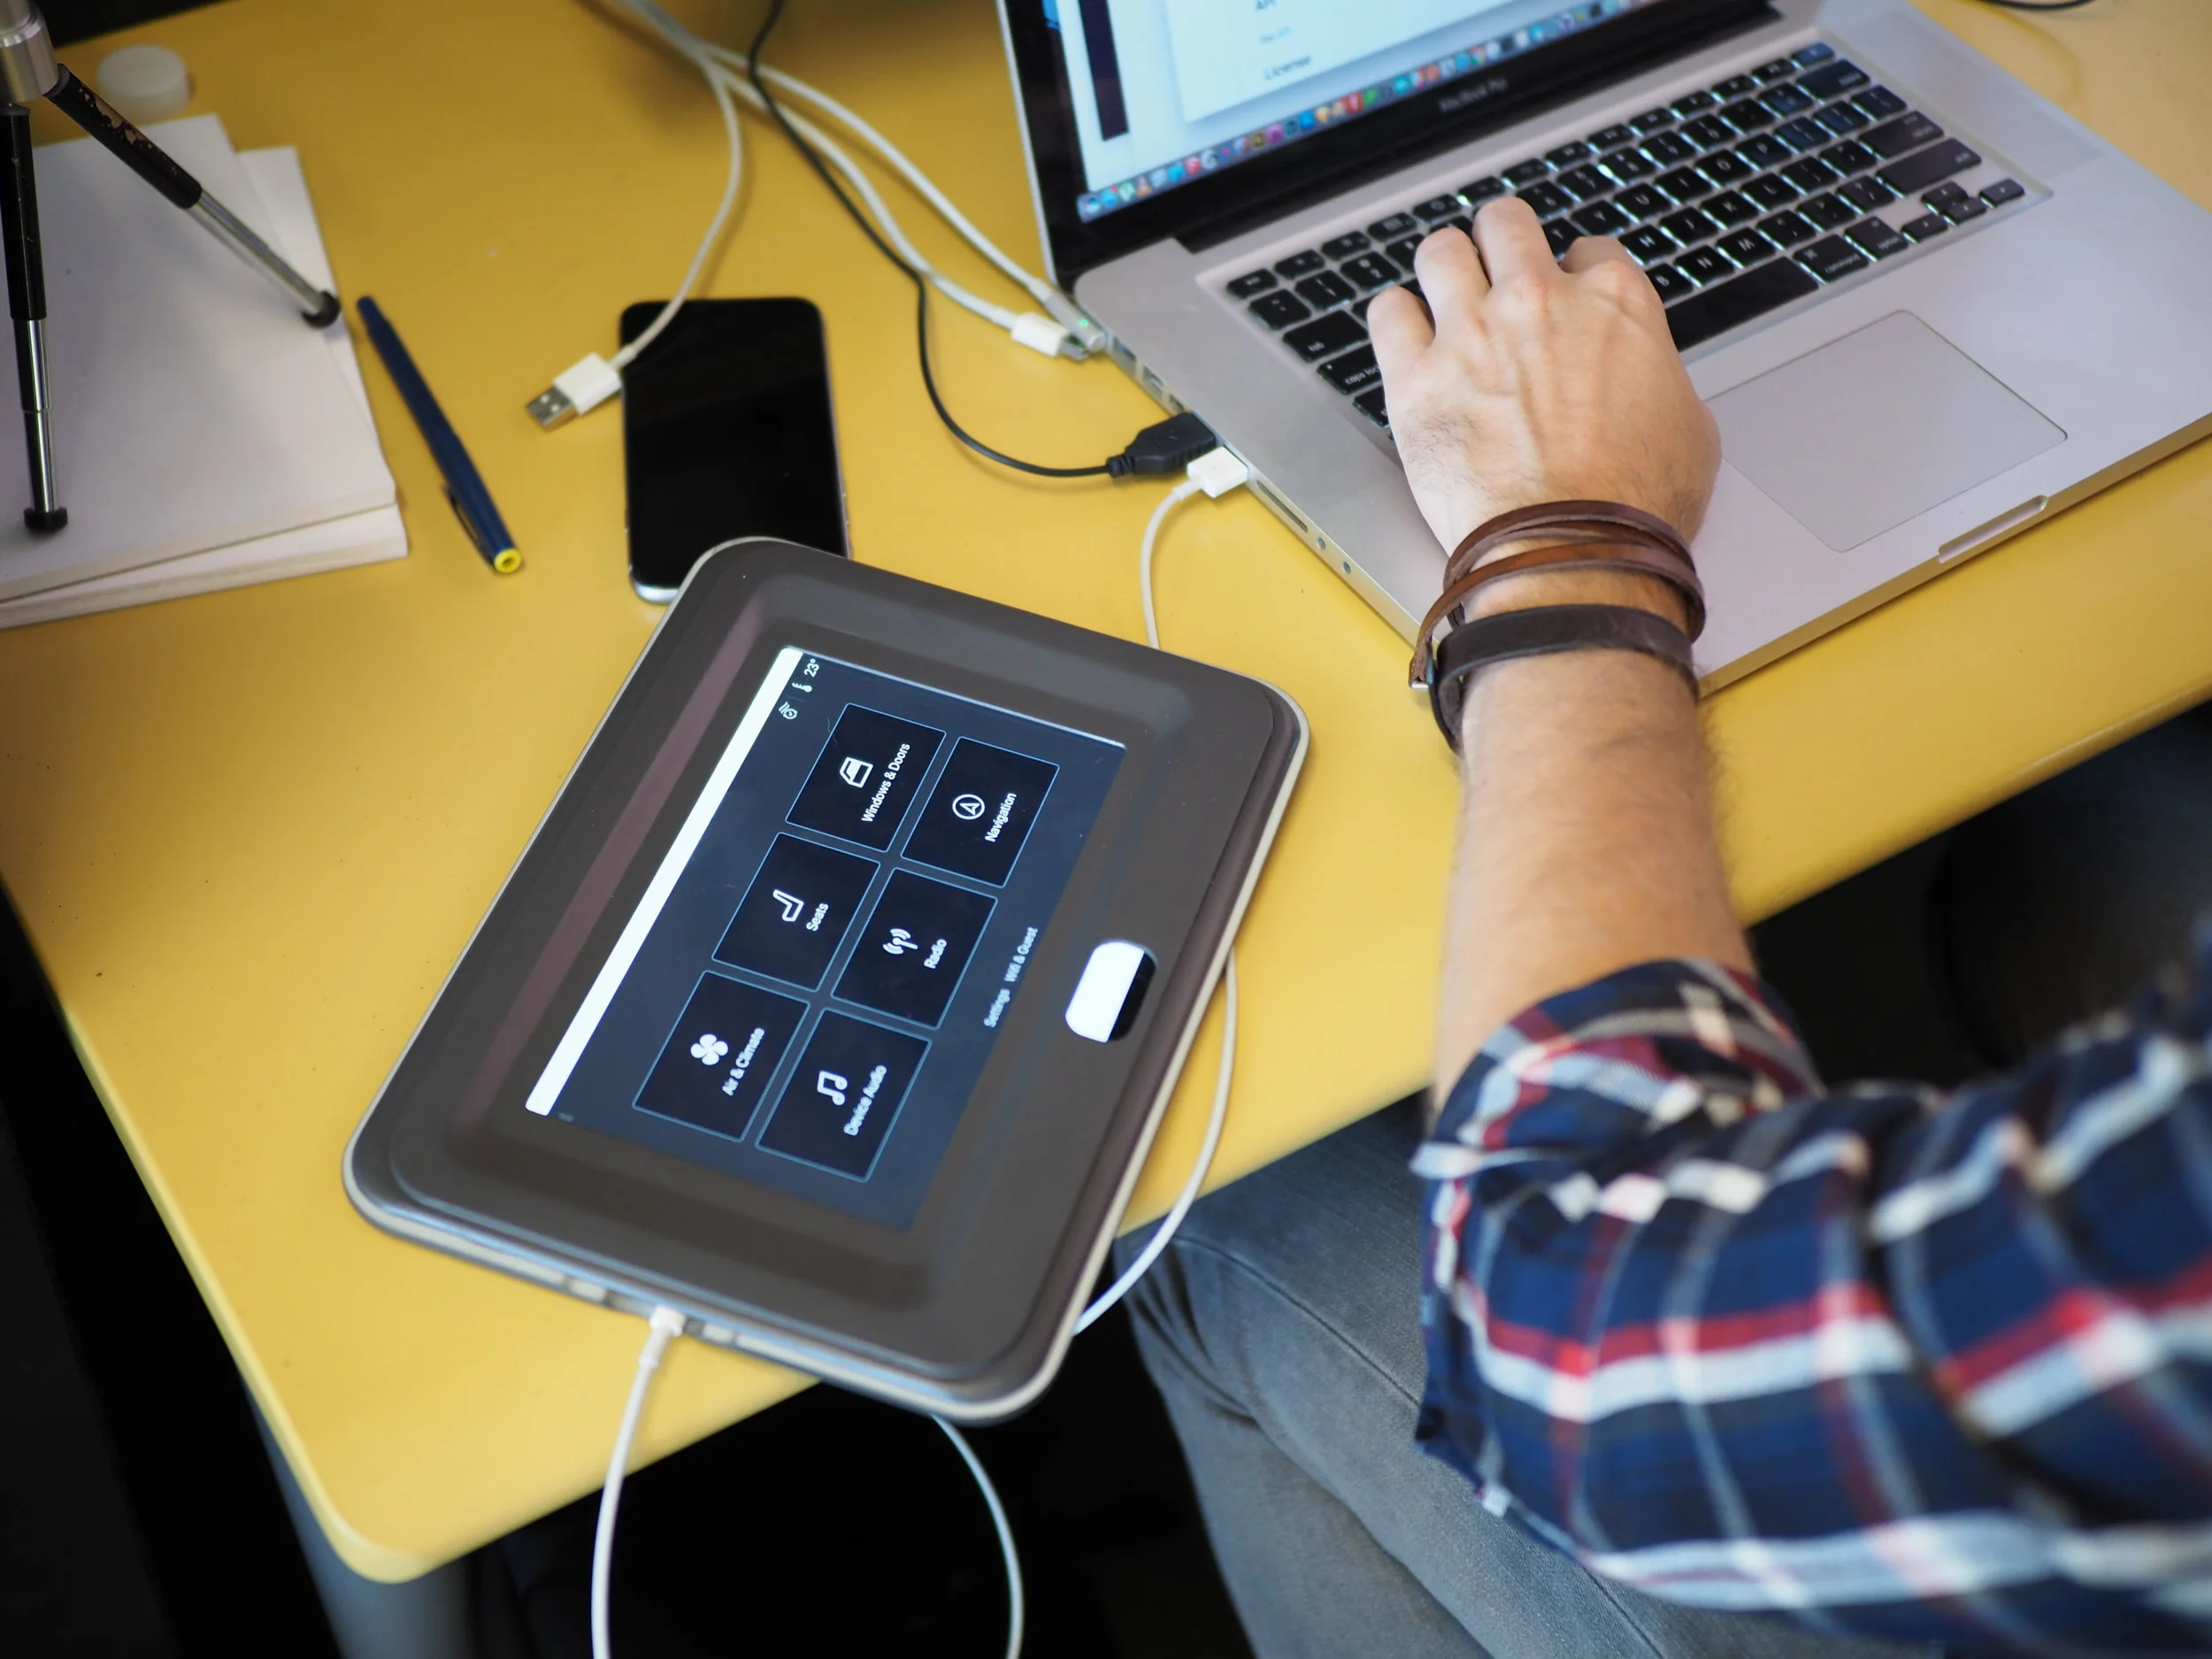
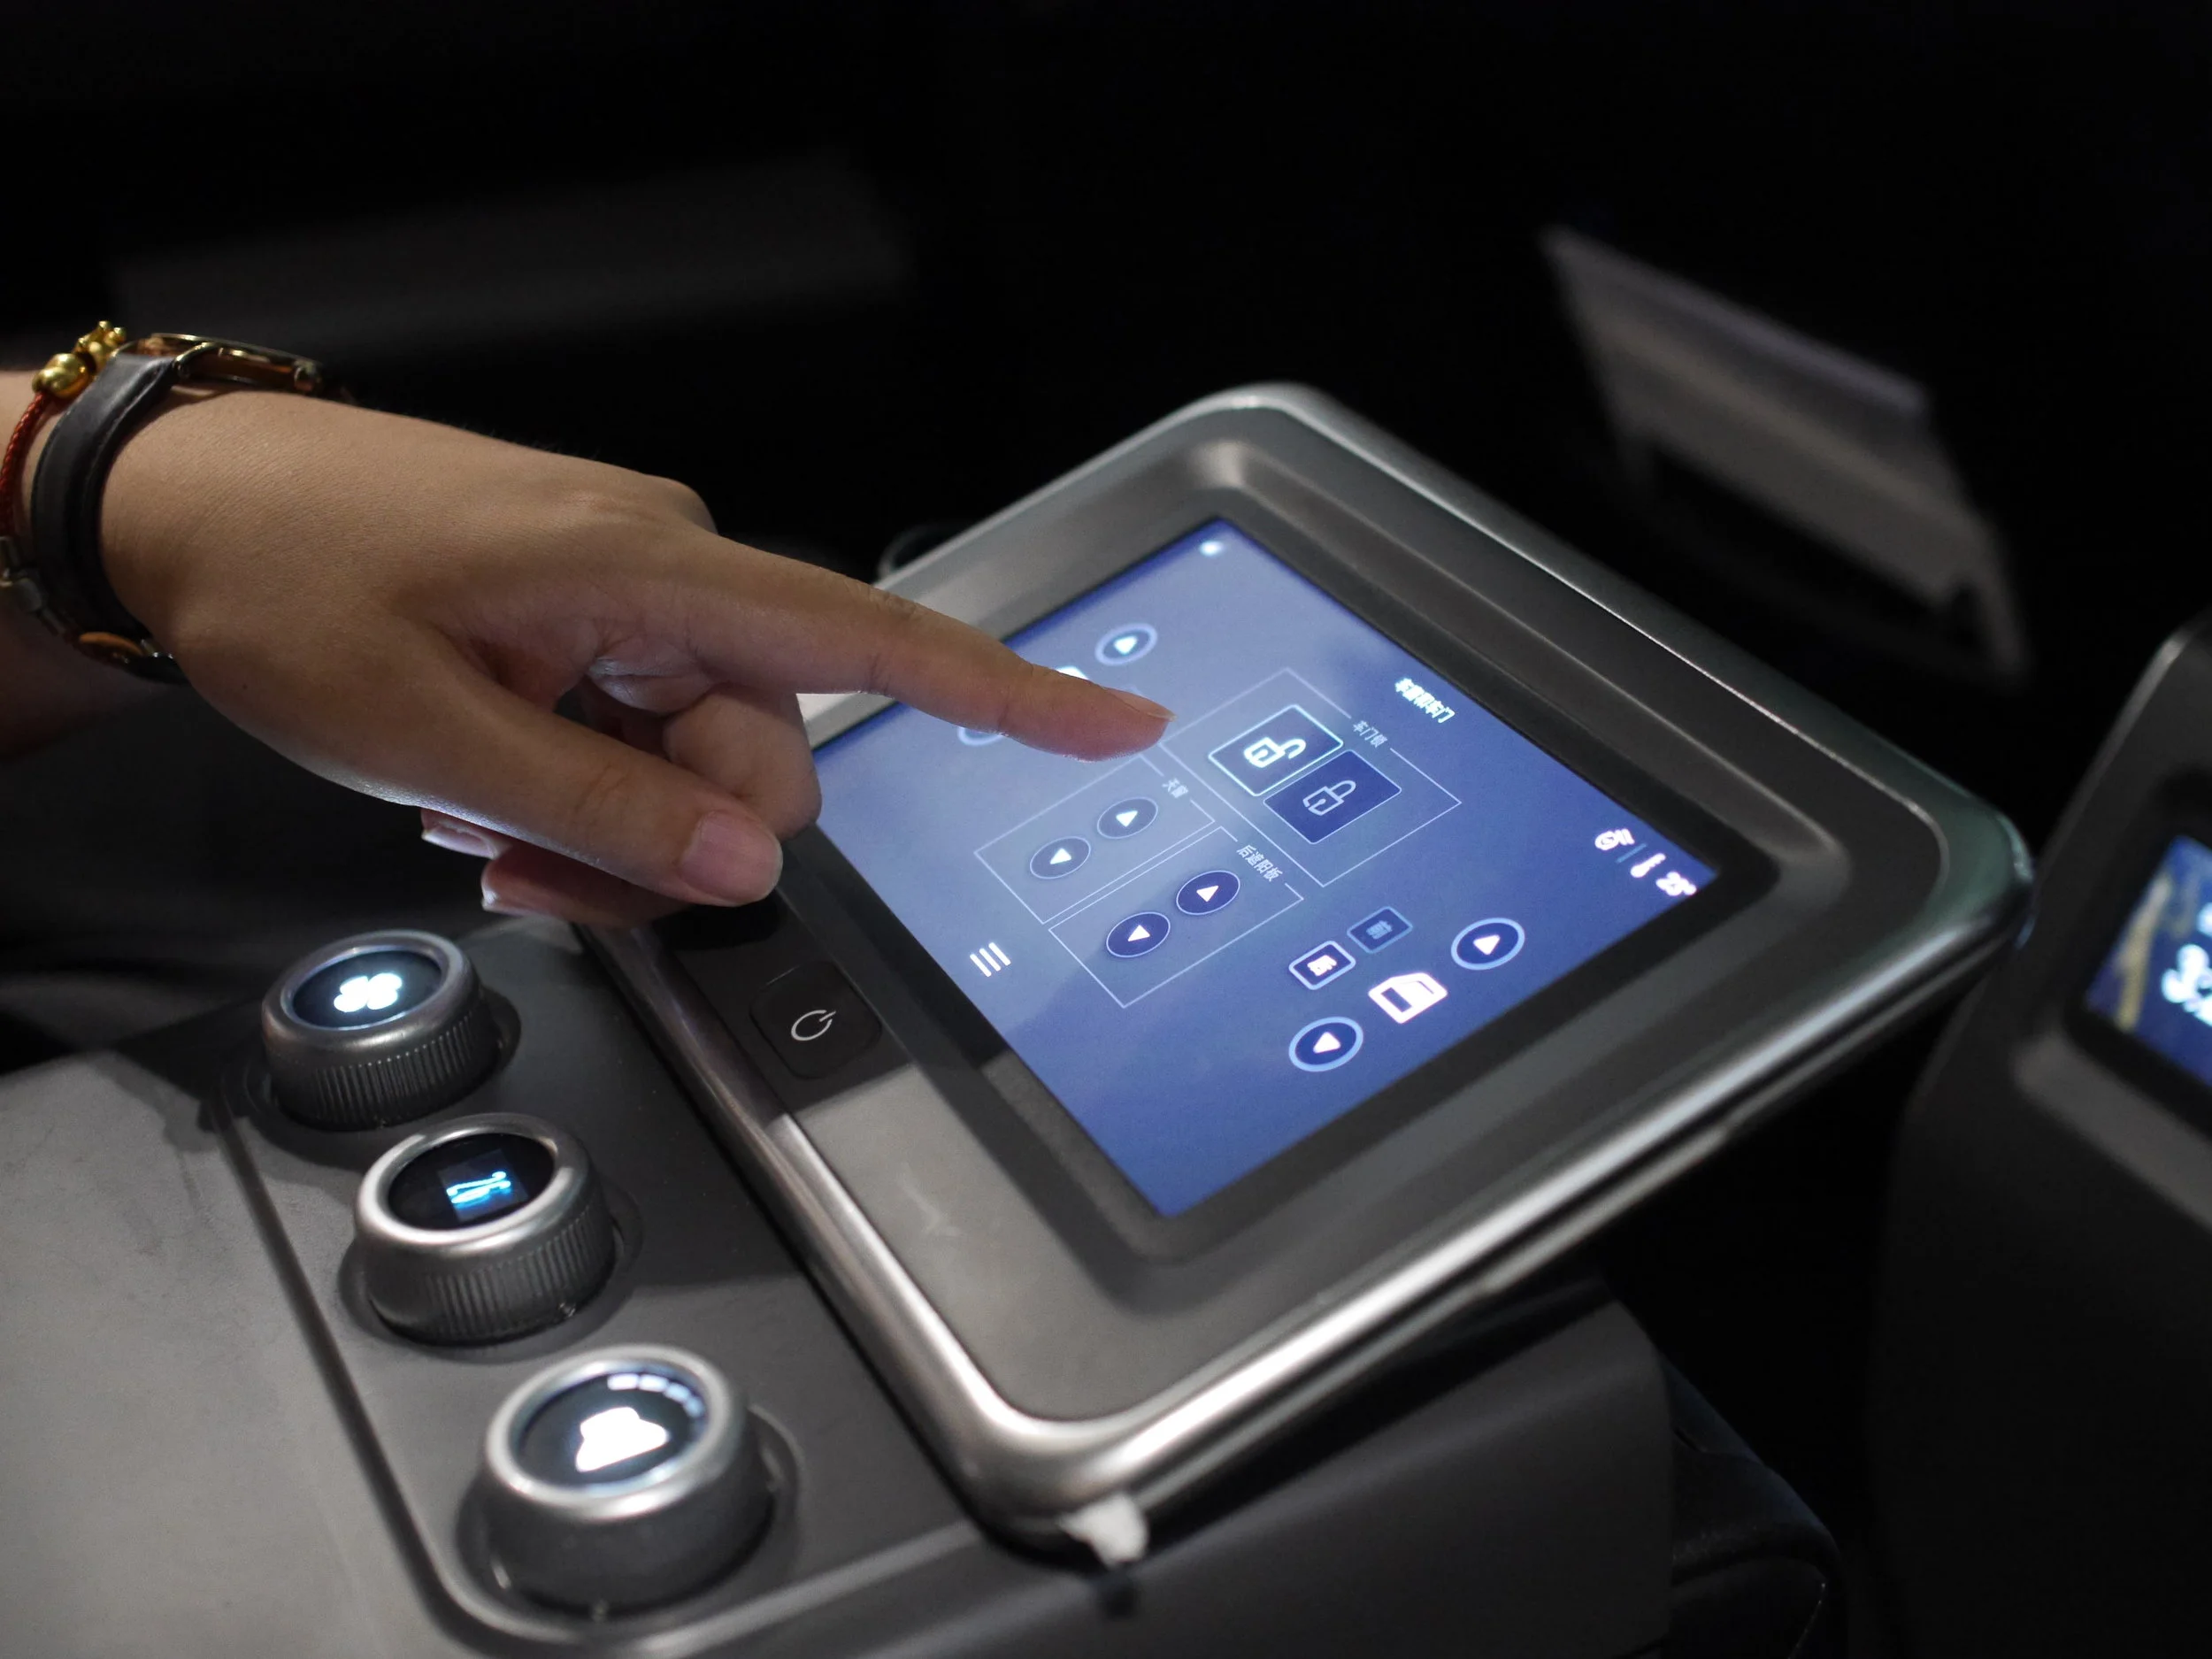
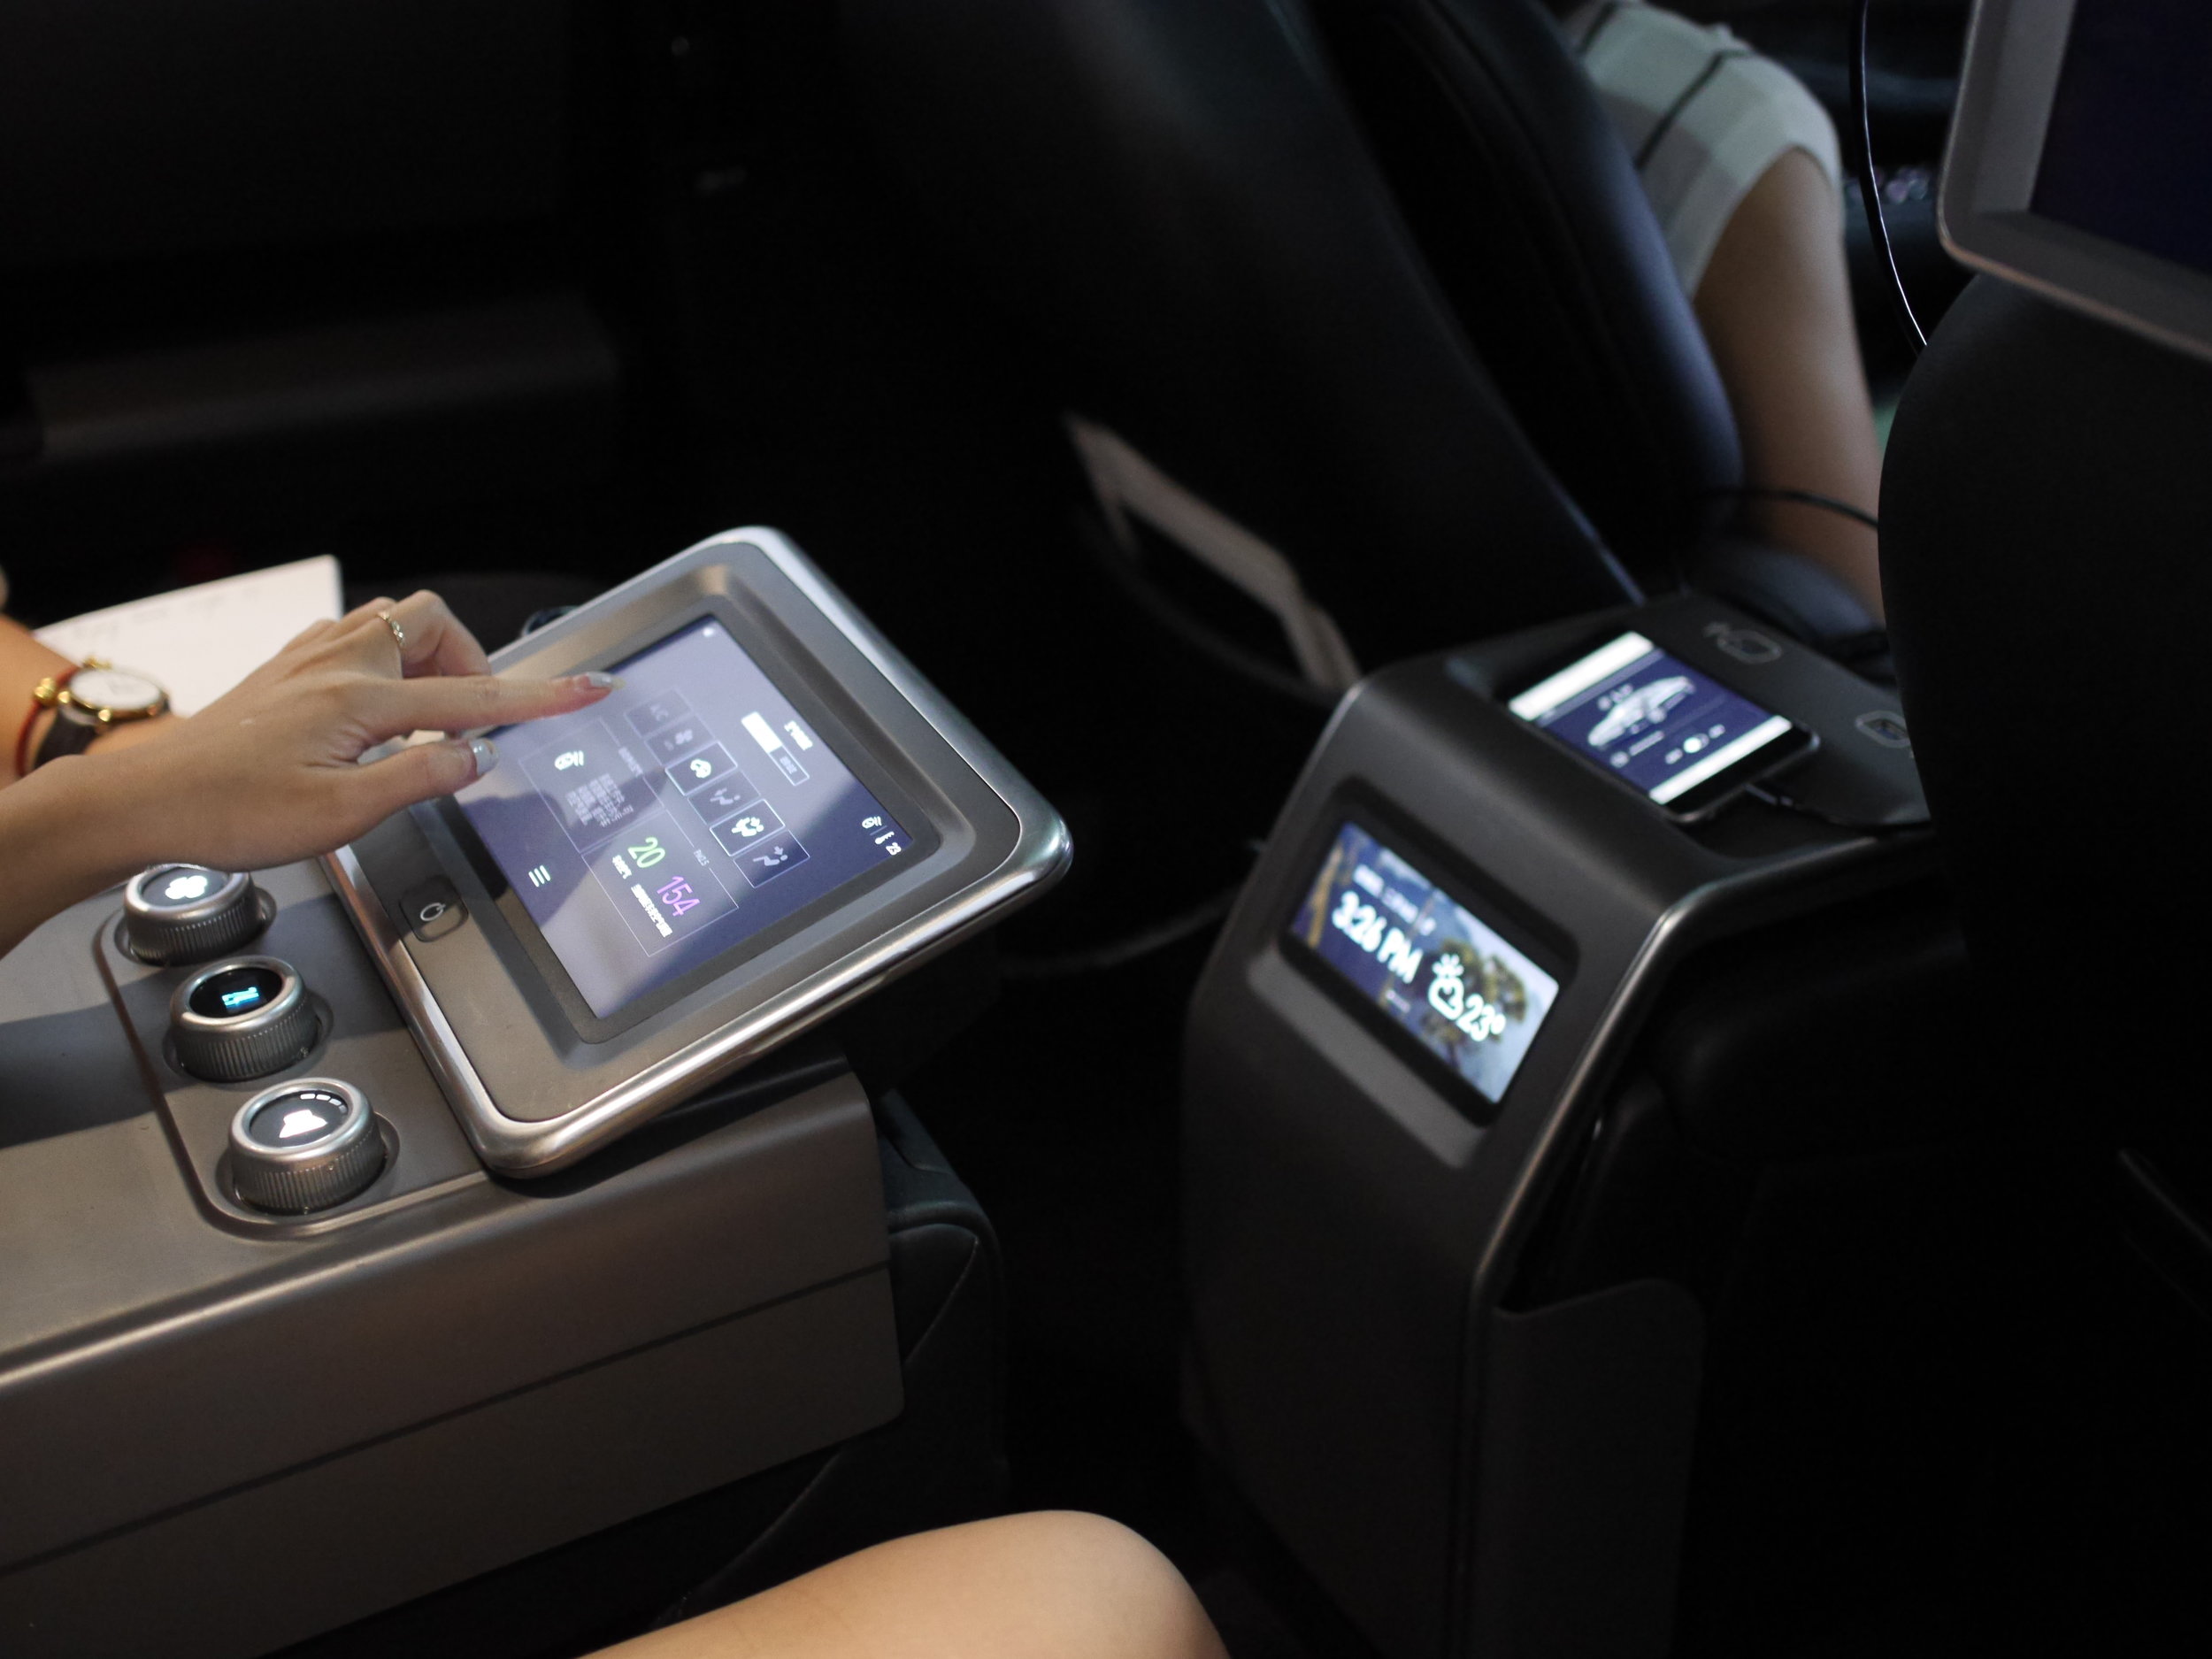
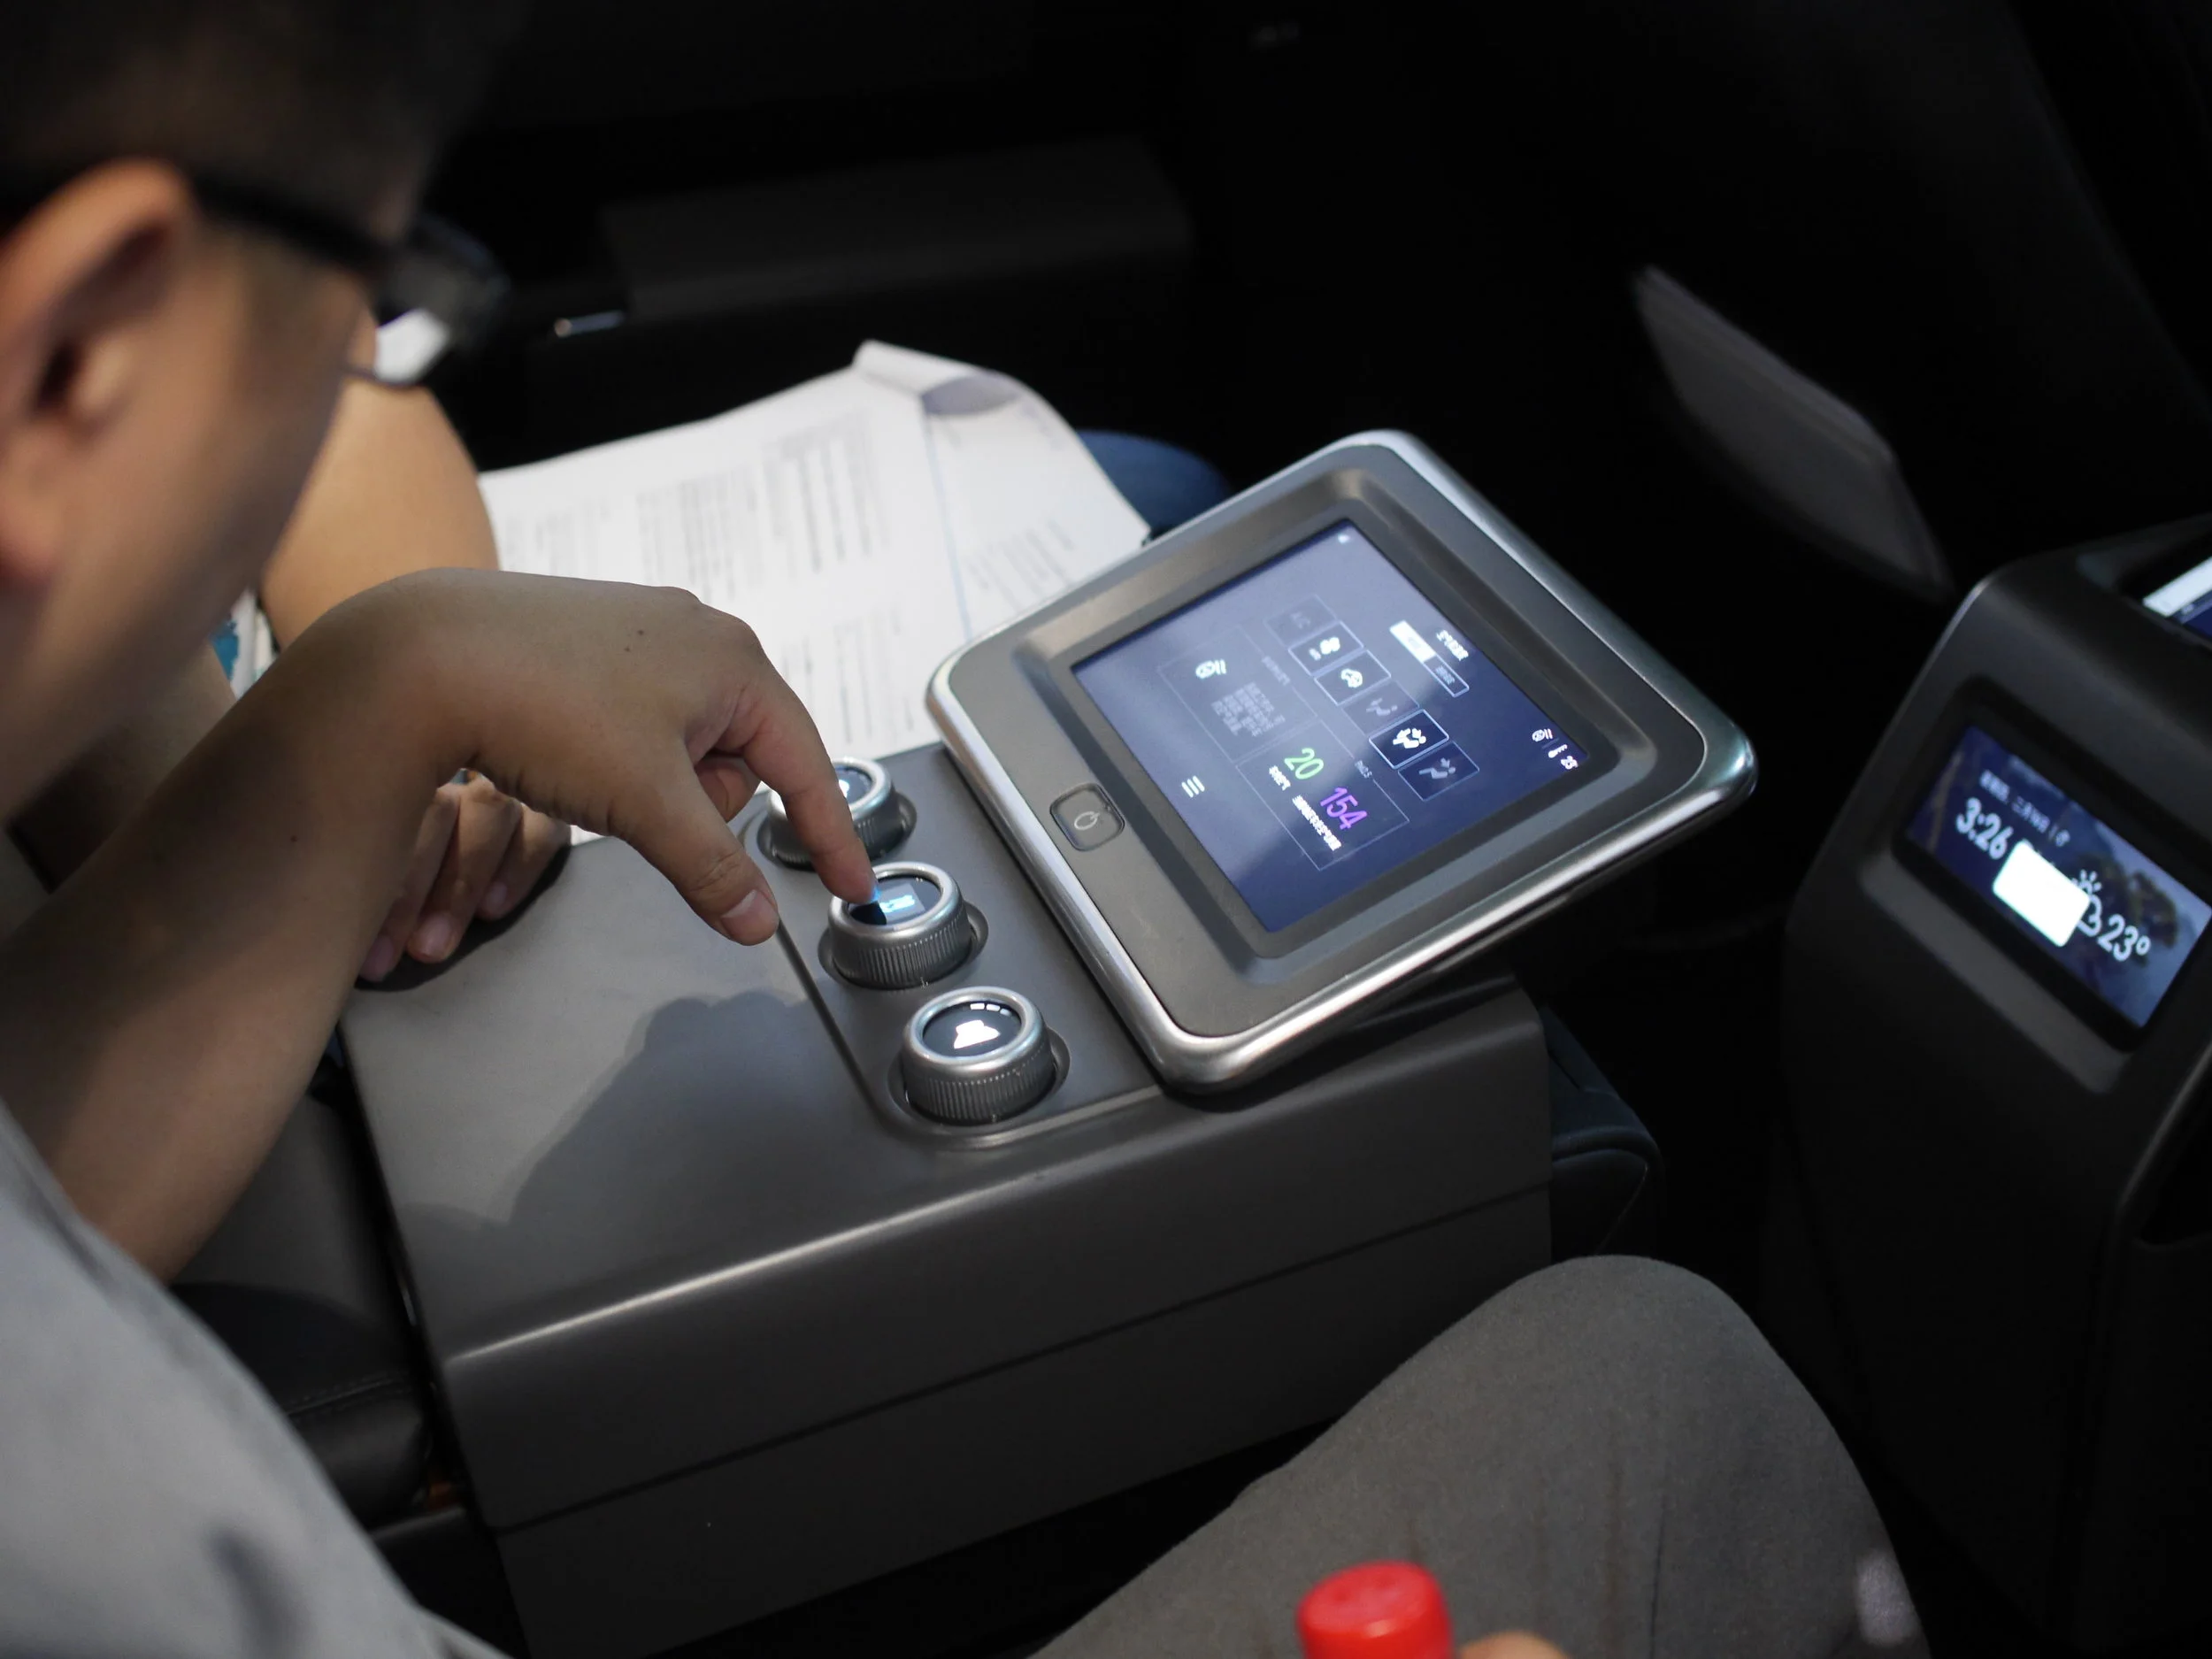
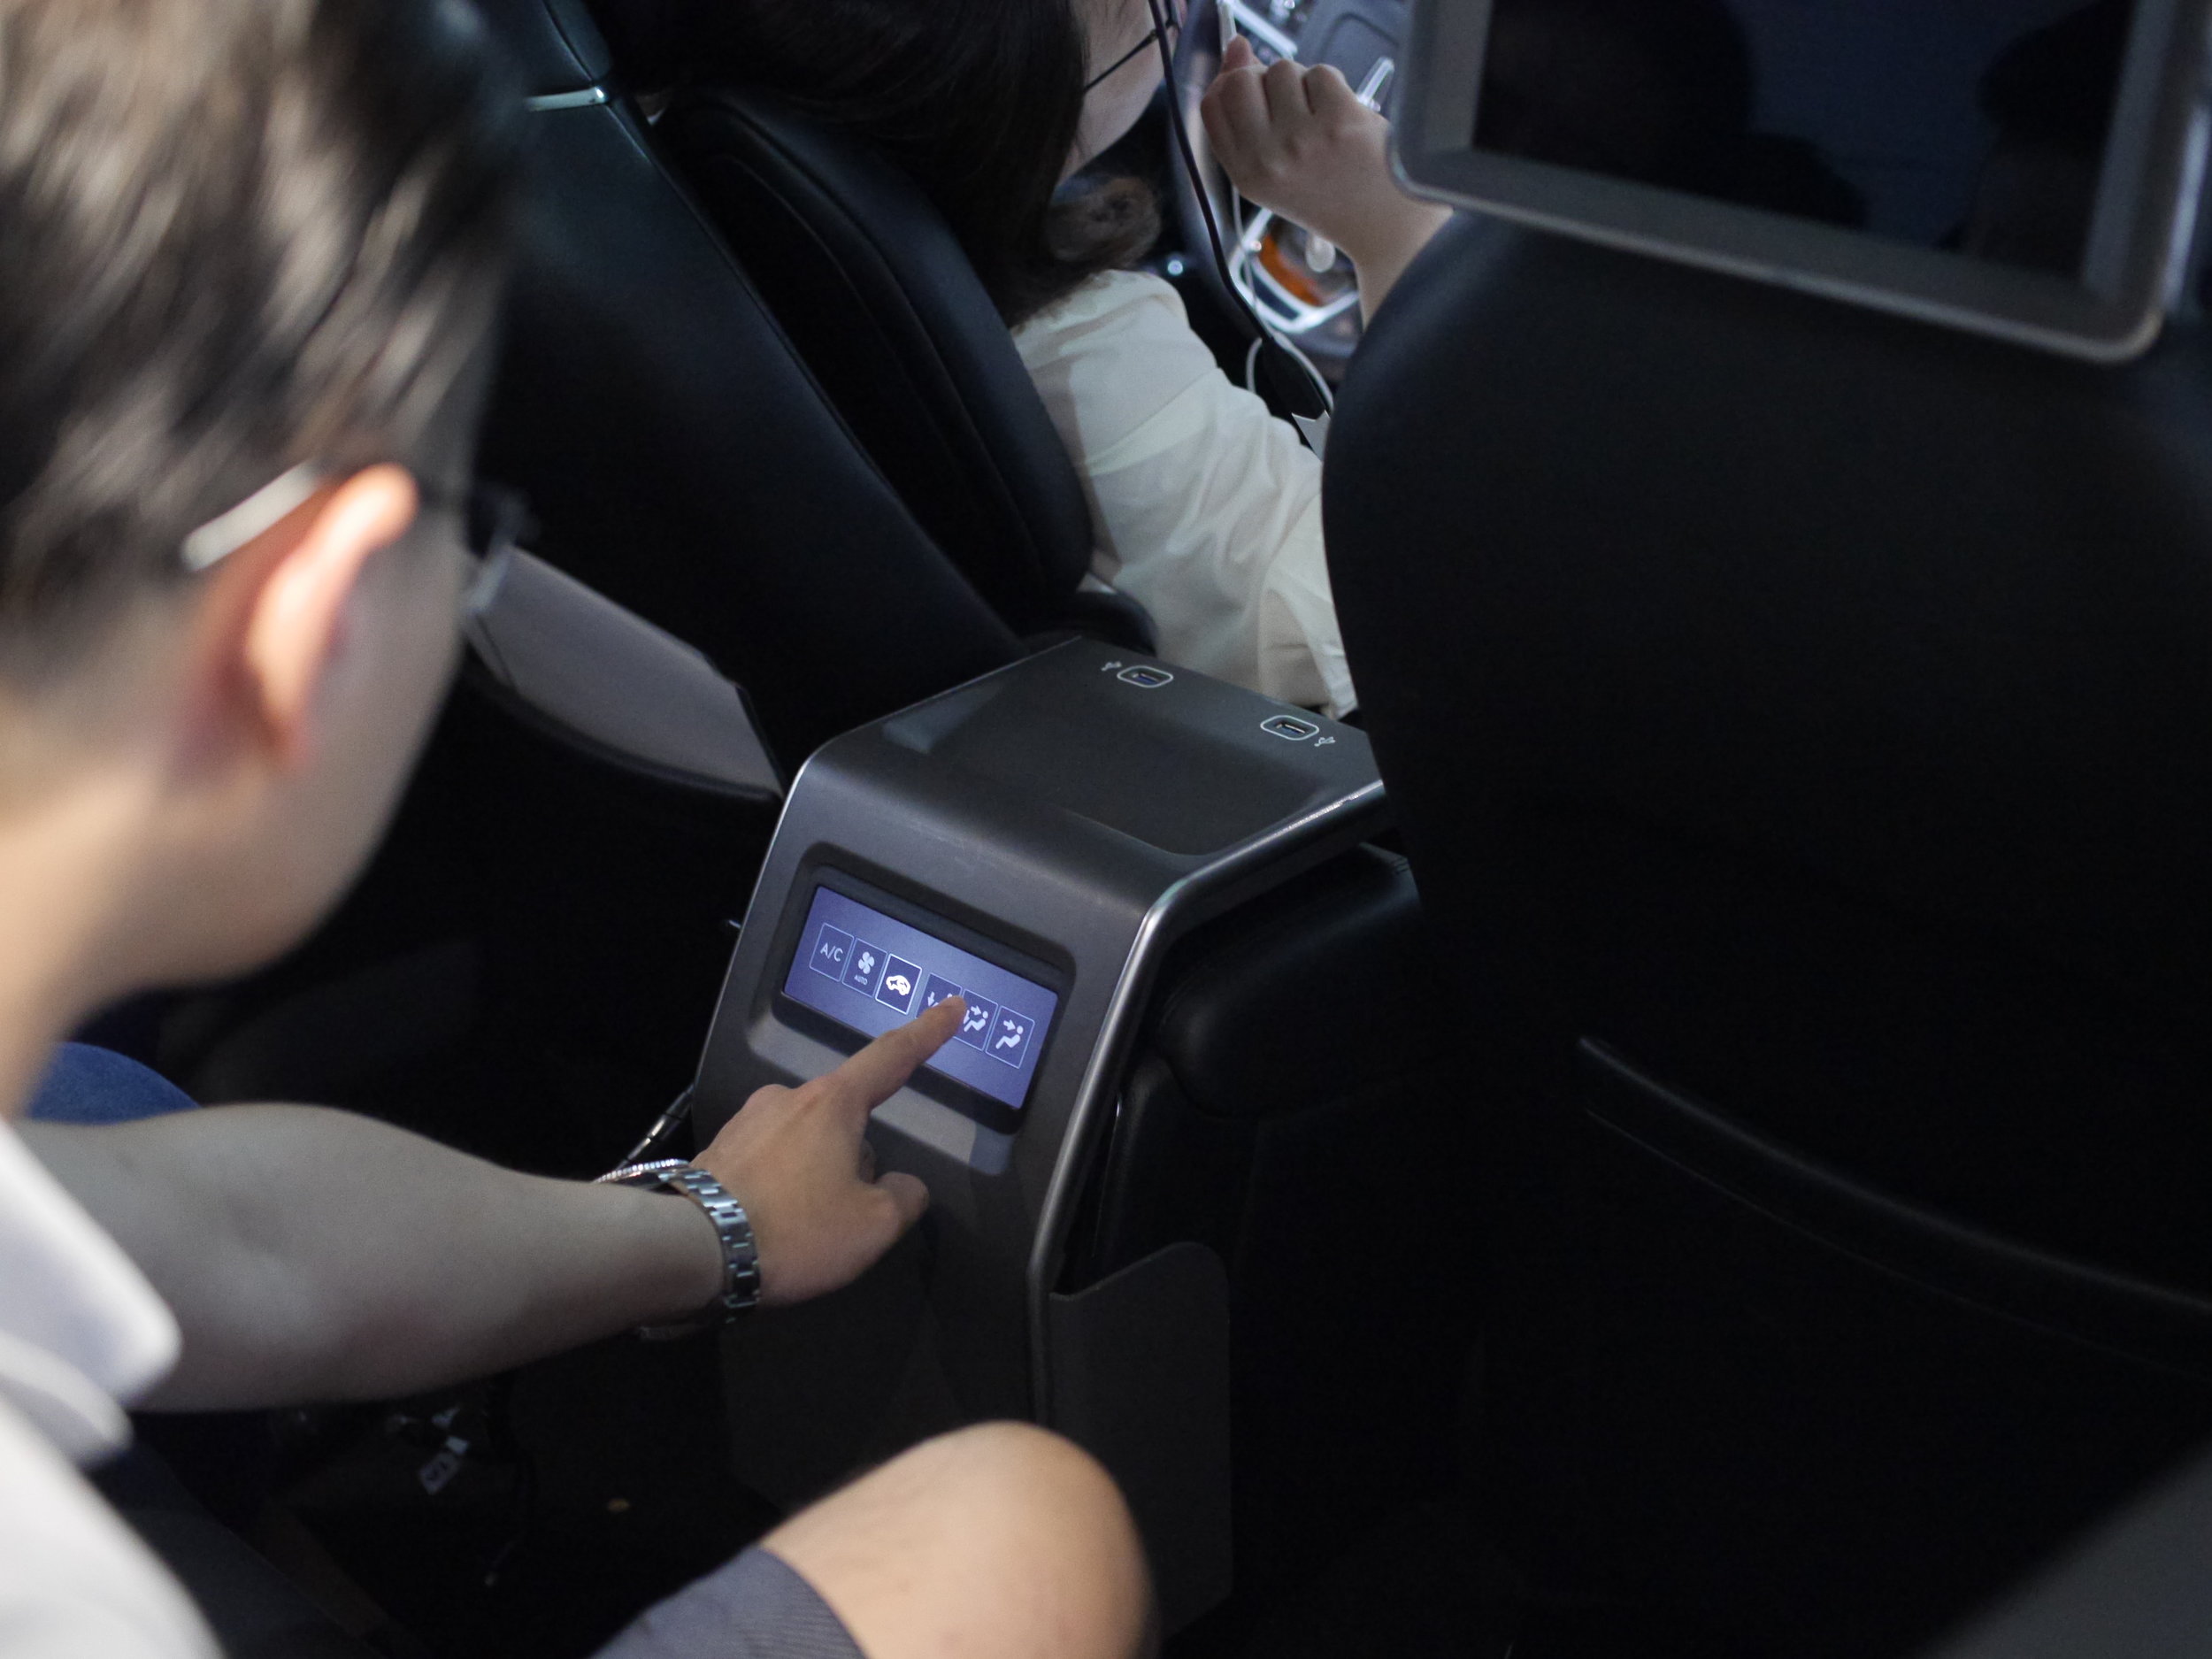
Center armrest touchscreen and hardware control interface
Background
In 2020 Ford Motor Co. introduced the Lincoln Continental to the Chinese market as the premier brand for business owners and passengers. A greater level of control over interior climate & air quality, entertainment, and navigation, along with new features such as back-seat reclining and massage aim to create a luxury experience for business riders.

The 2020 Lincoln Continental has advanced PM2.5 filtering designed for the Chinese market.
My Role
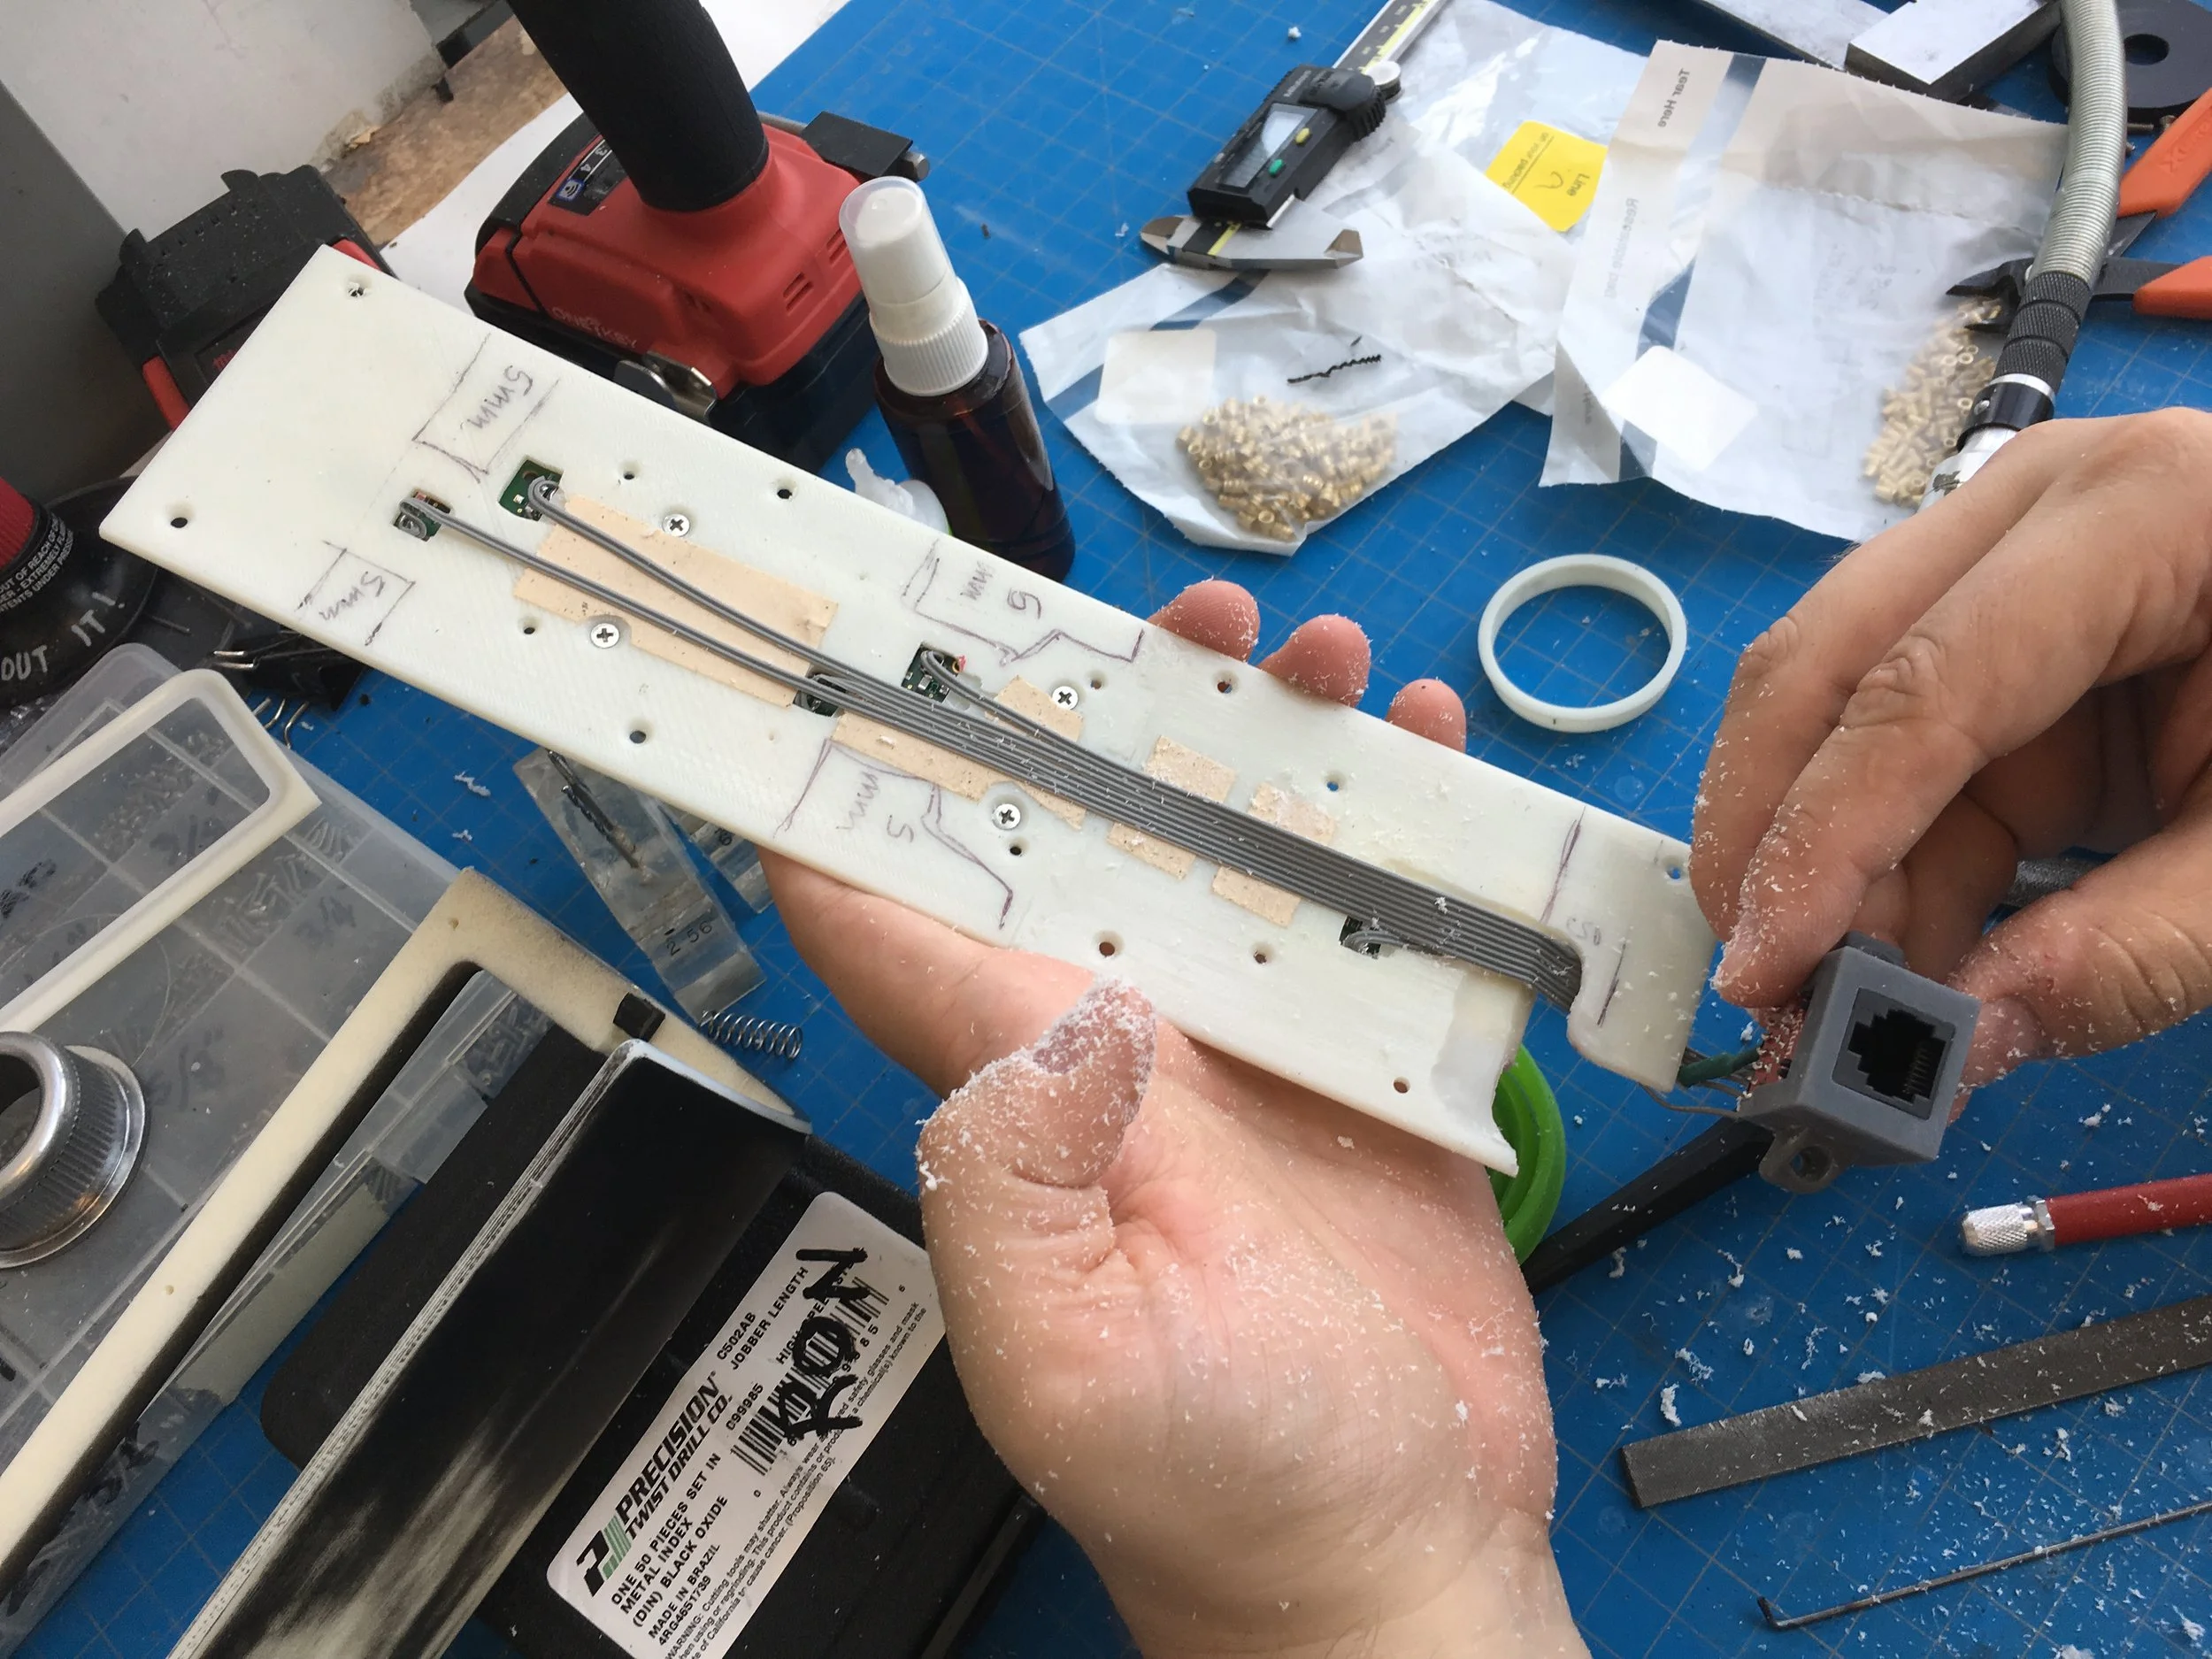
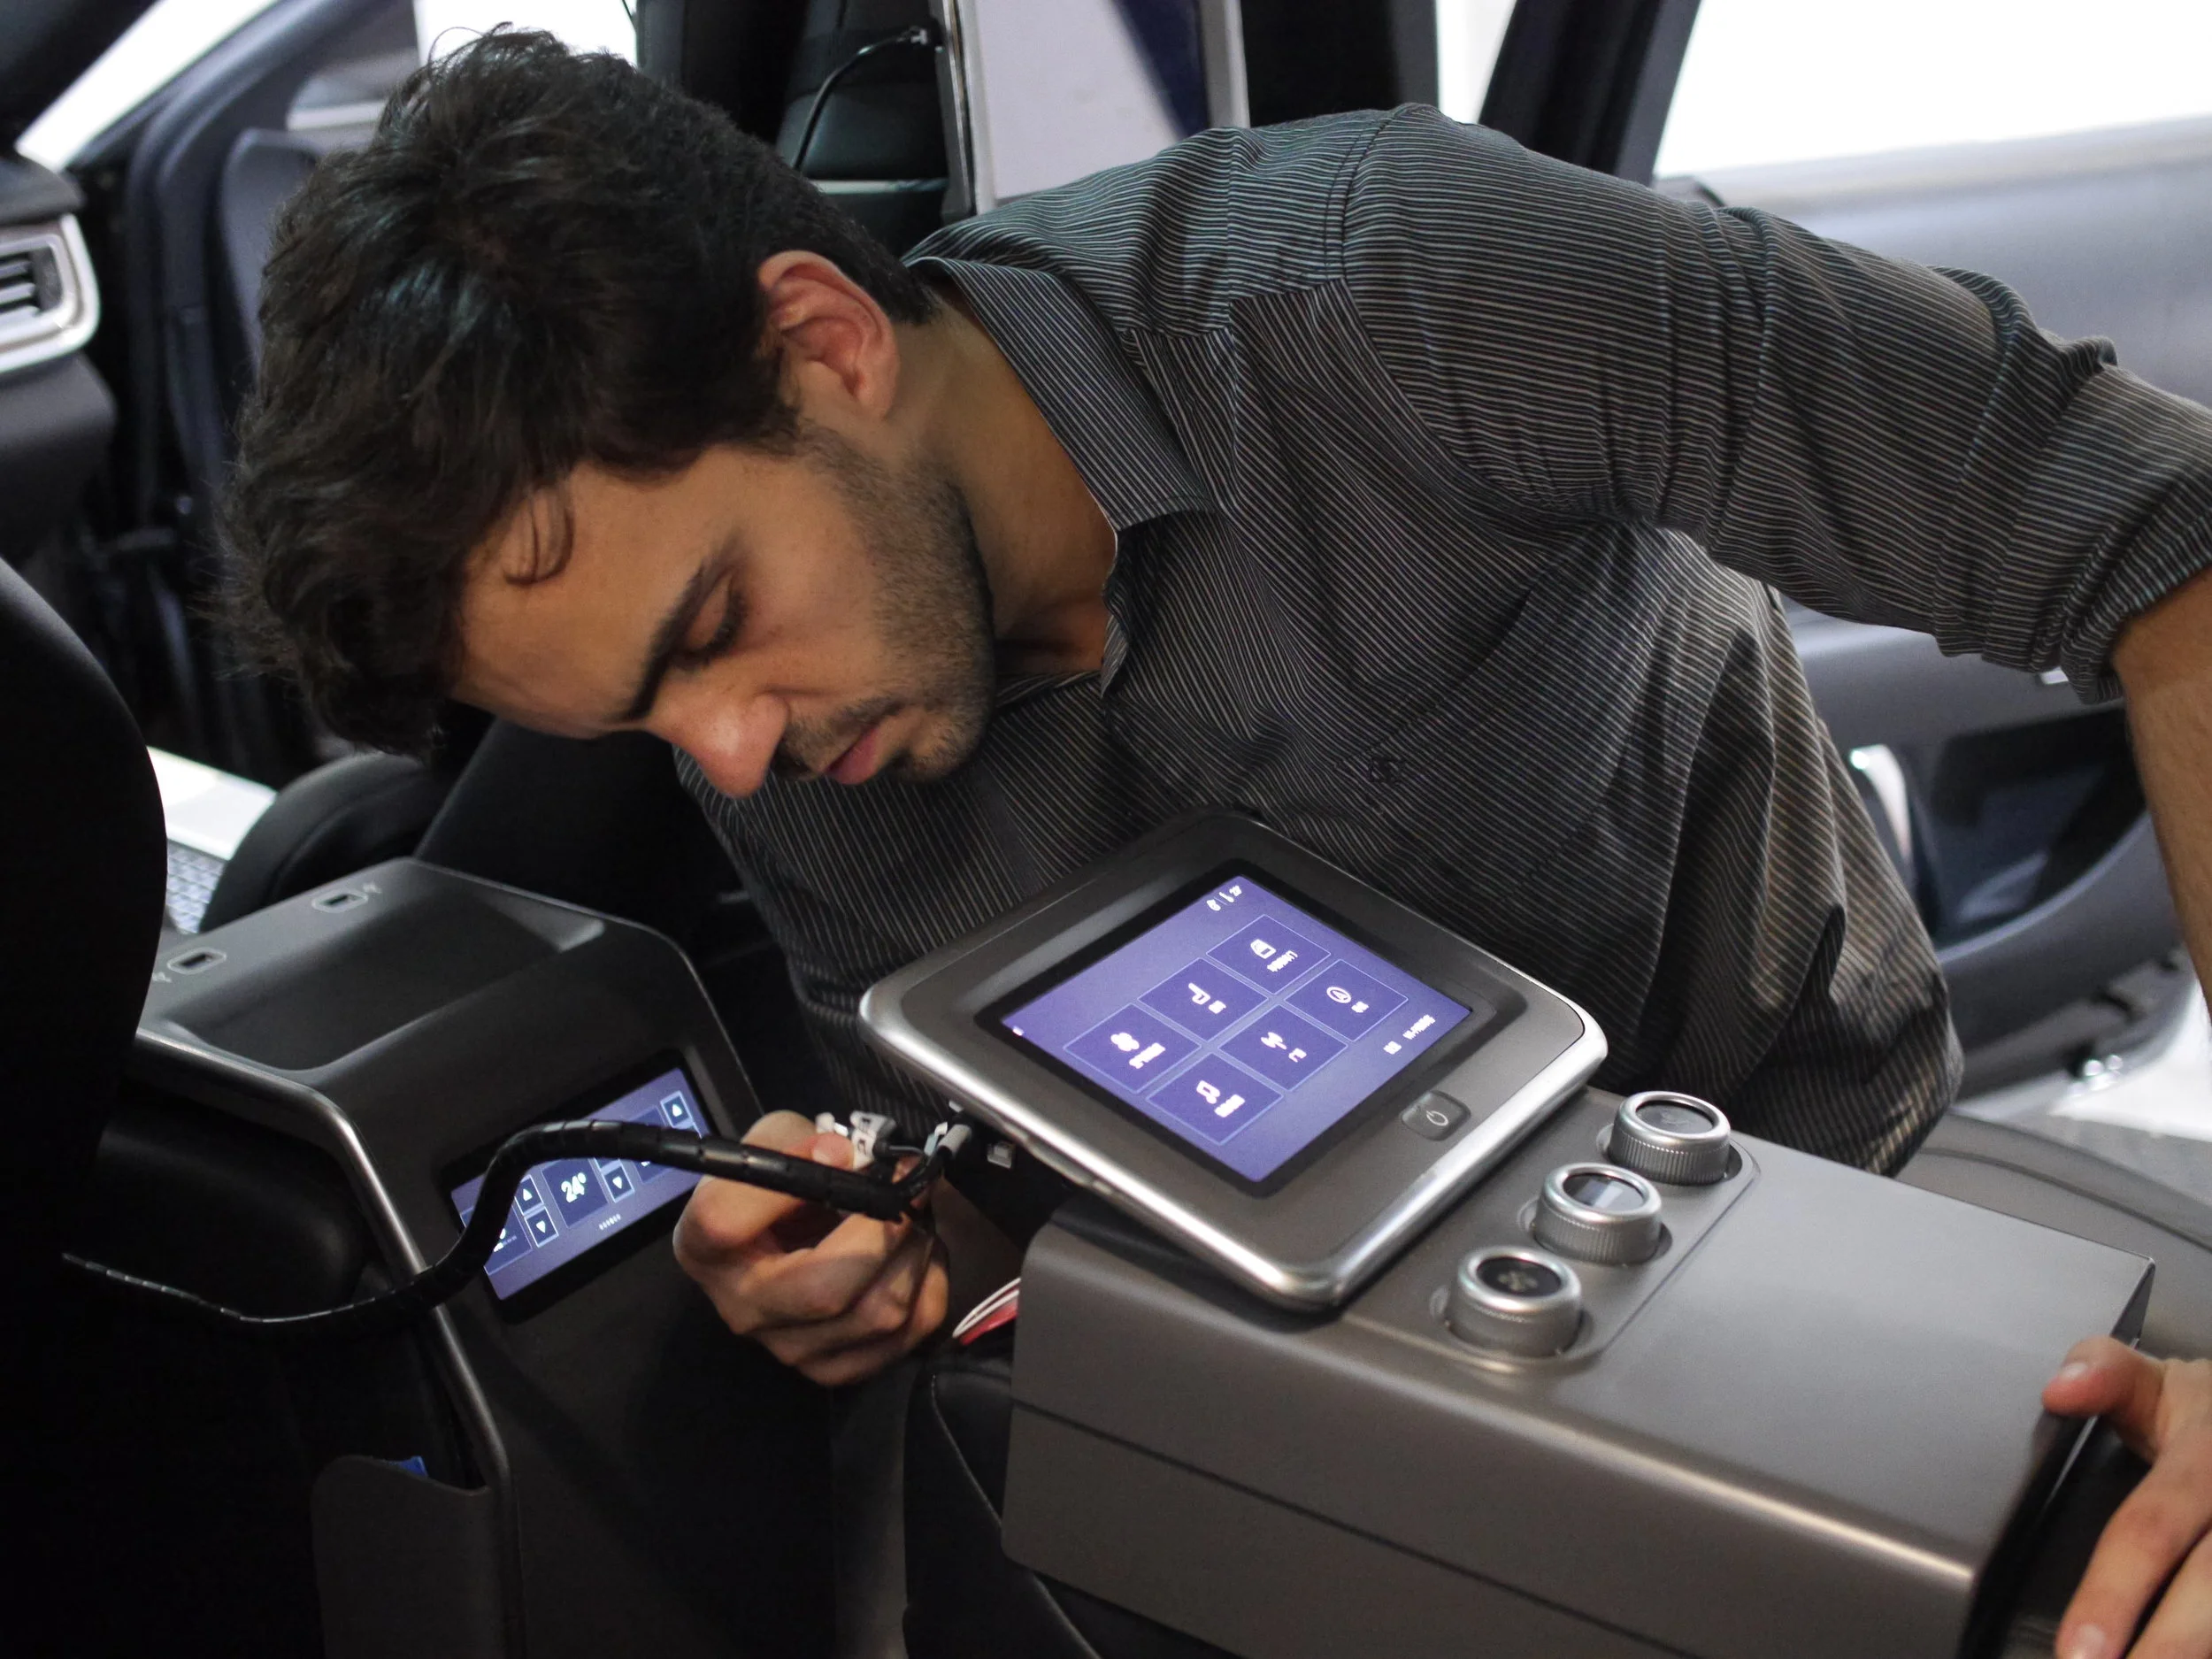
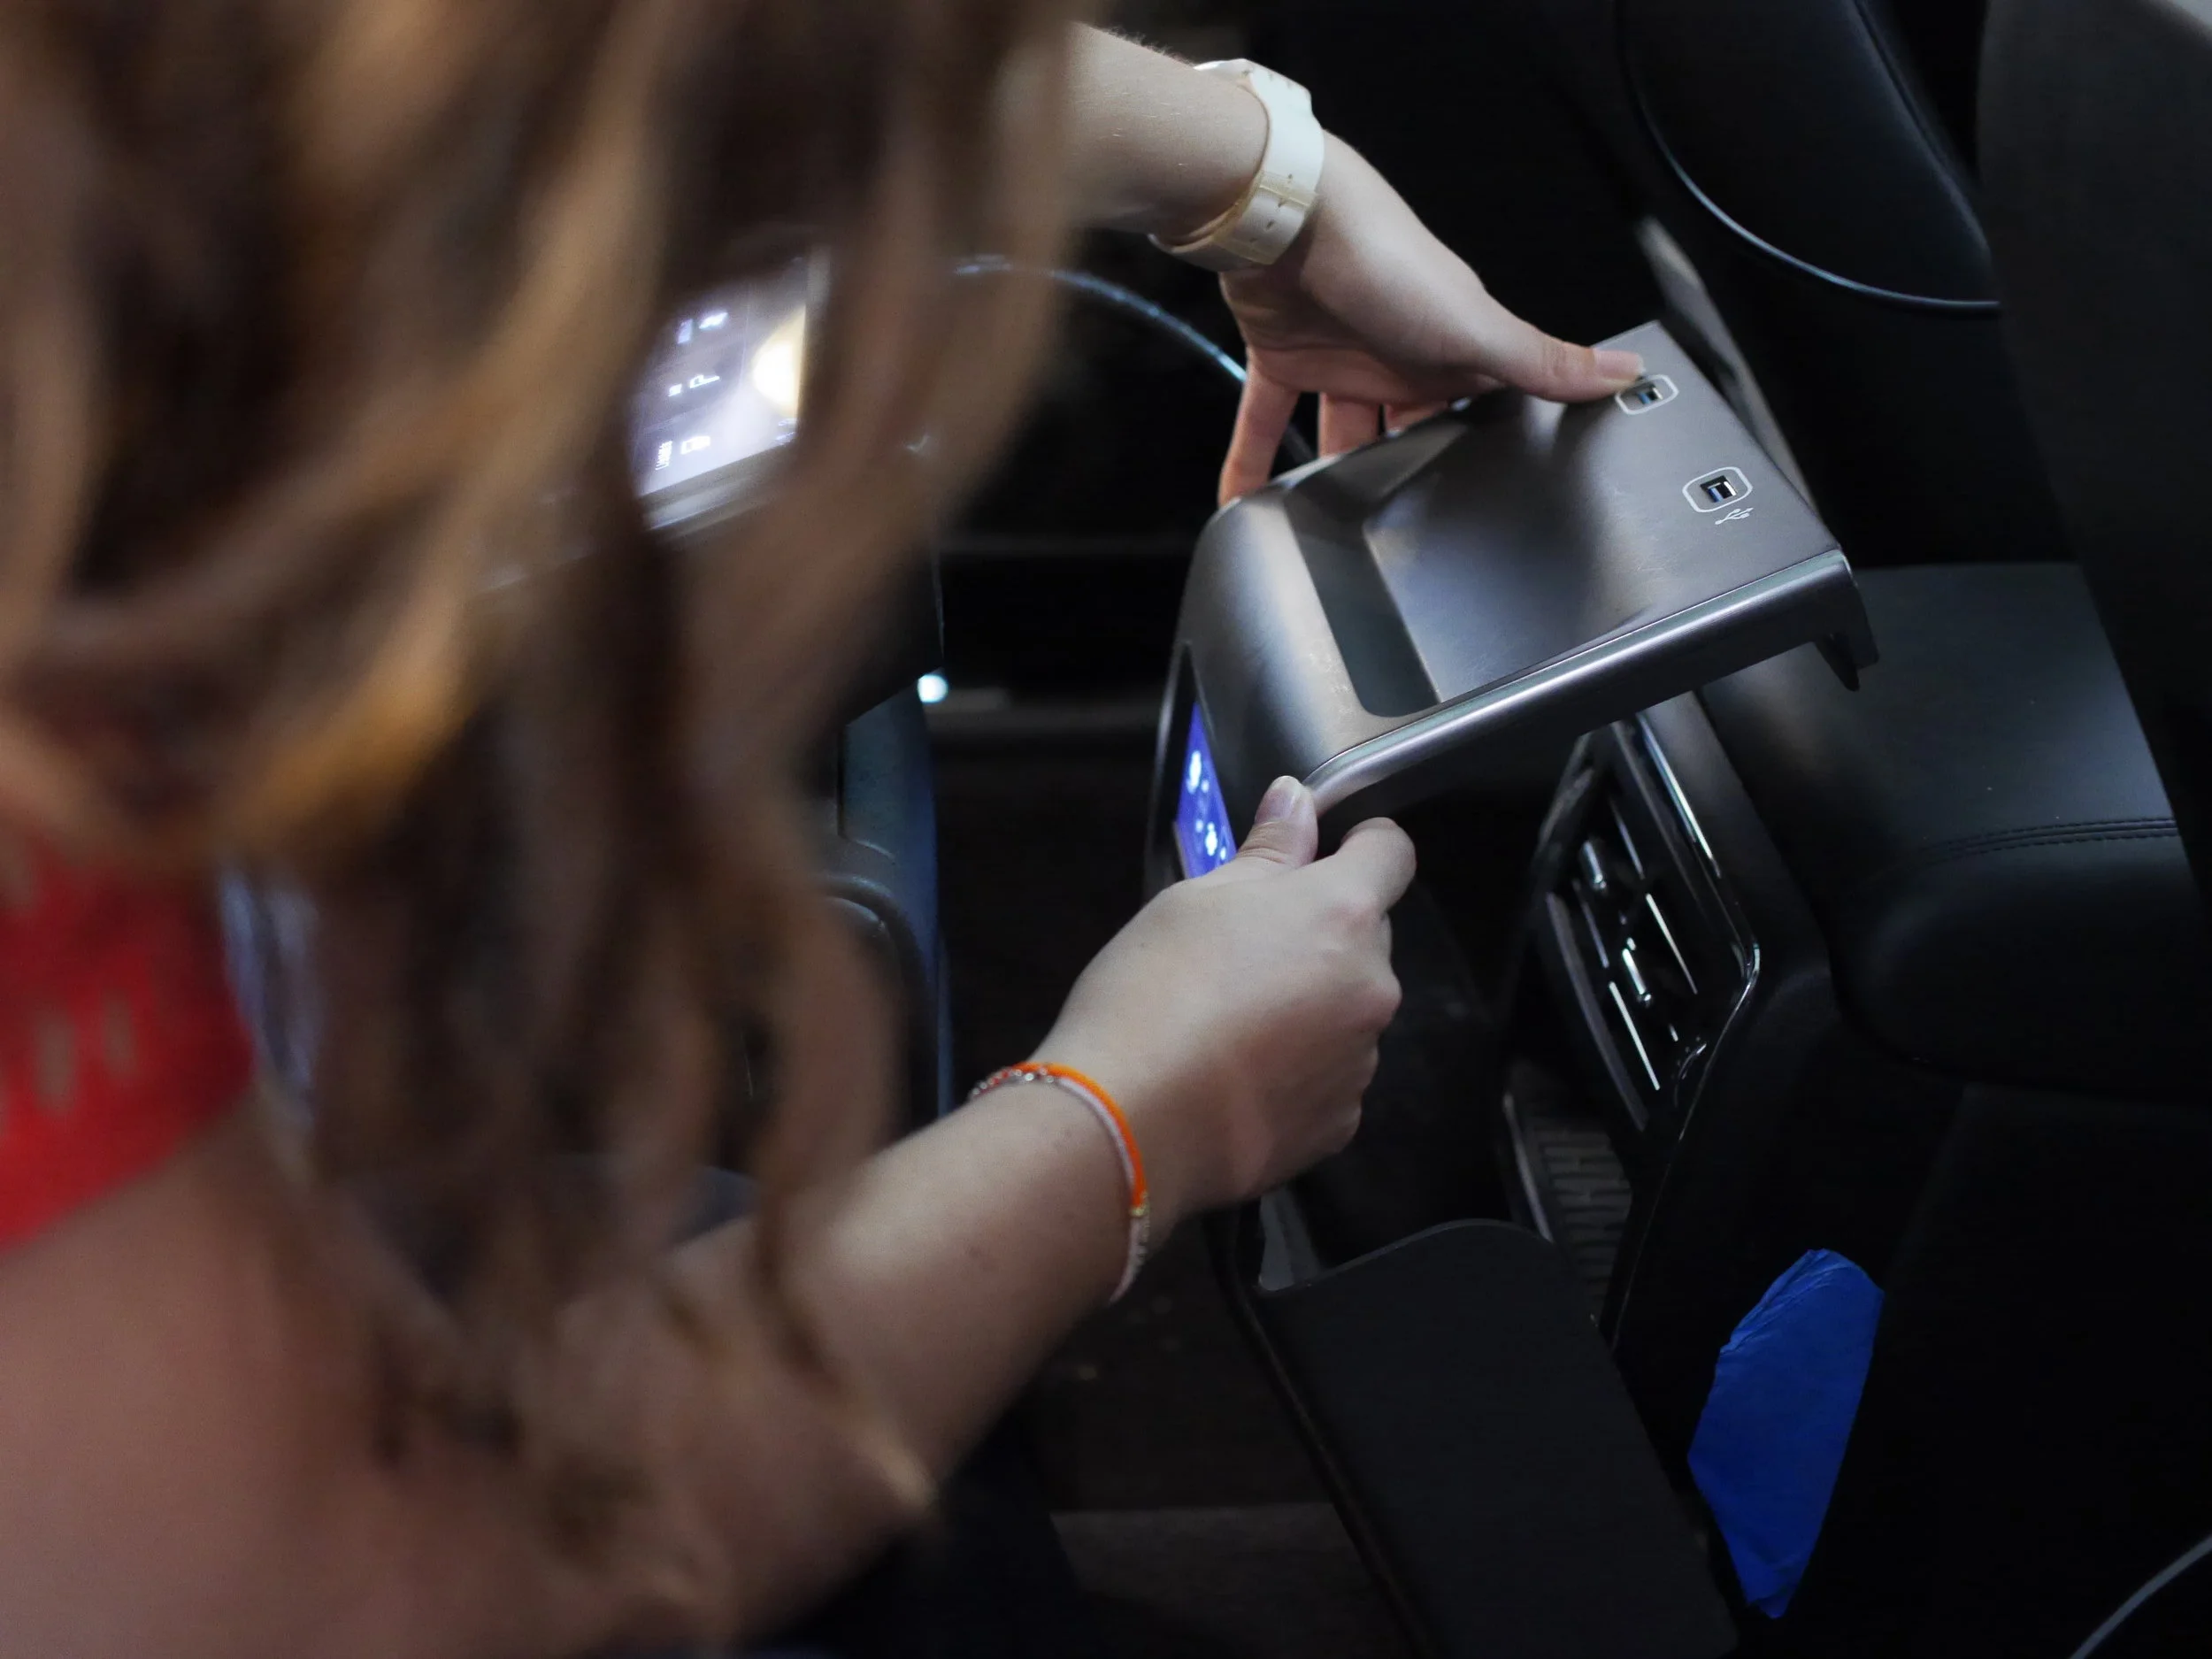
I partnered with global independent design firm Smart Design to lead the execution of a prototype of the entire experience built specifically for user testing the HMI reference design. The goal was to create a high fidelity, functional prototype of the complete user interface using high-quality touchscreens, smooth interactions, real-time networking, and custom engineered hardware controls embedded in the interior of a late model Lincoln Continental. The interfaces would be fully functional without actually being integrated with the car, a physical reskinning of the back seat.
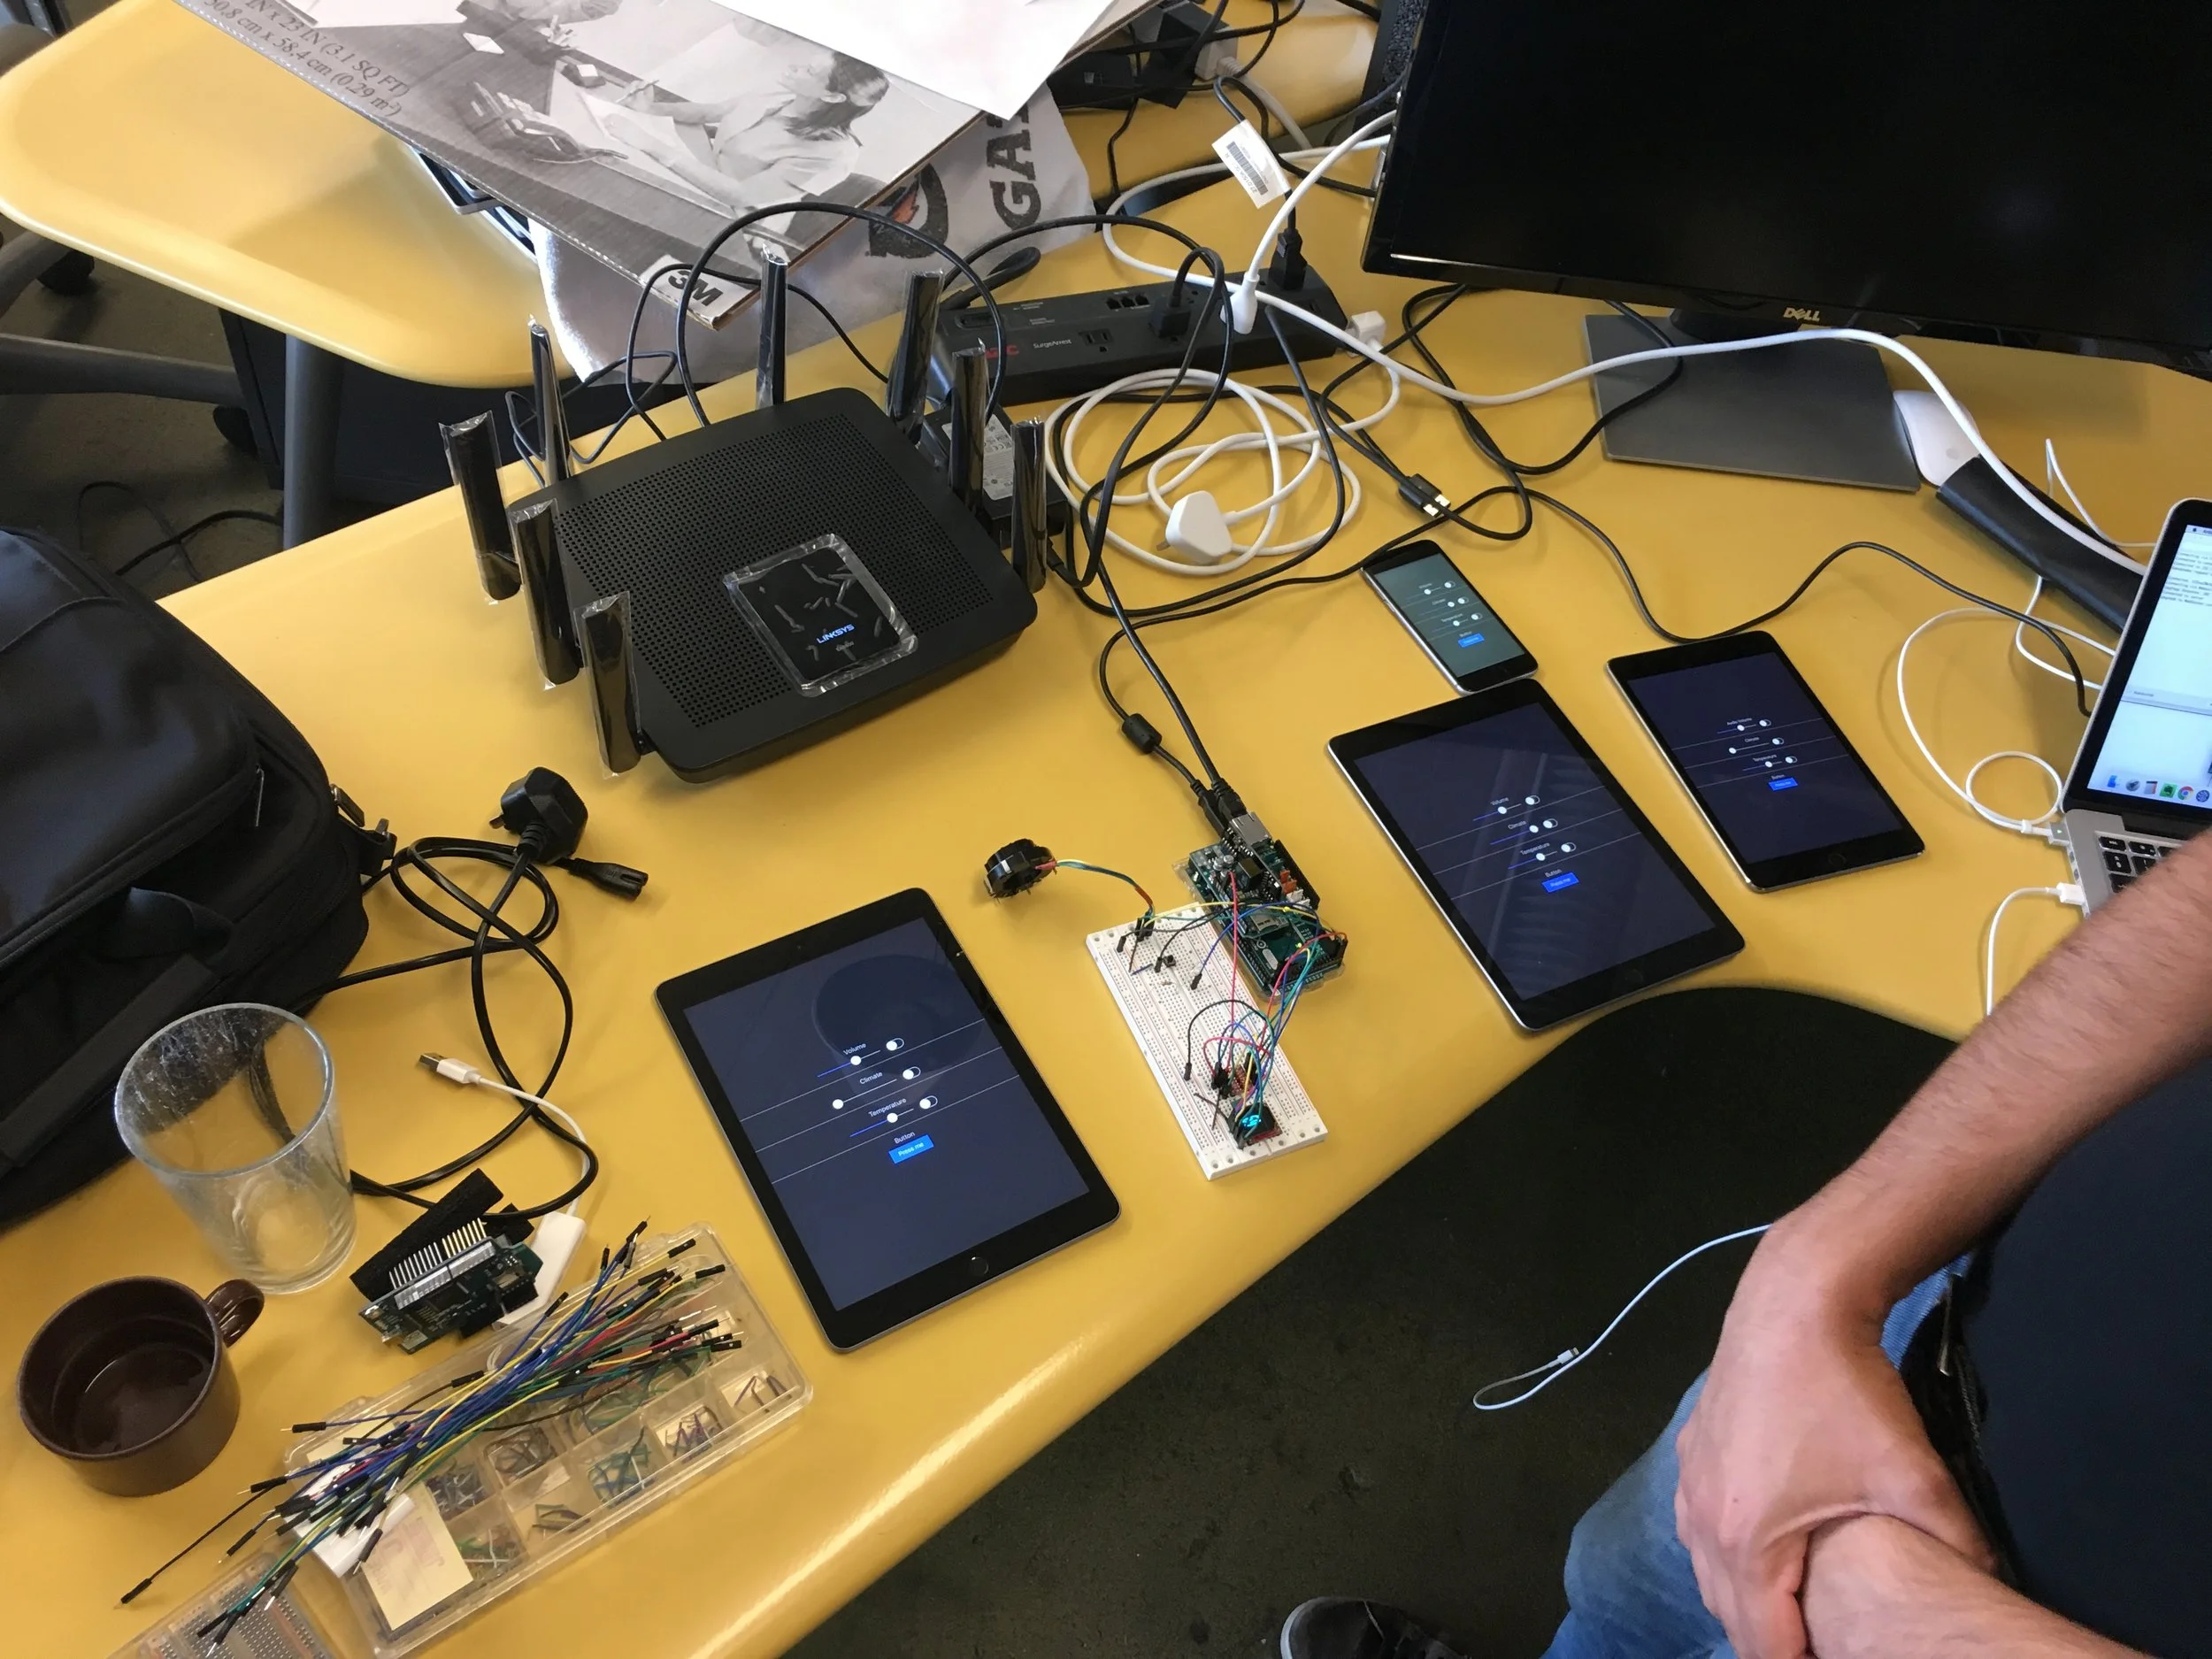
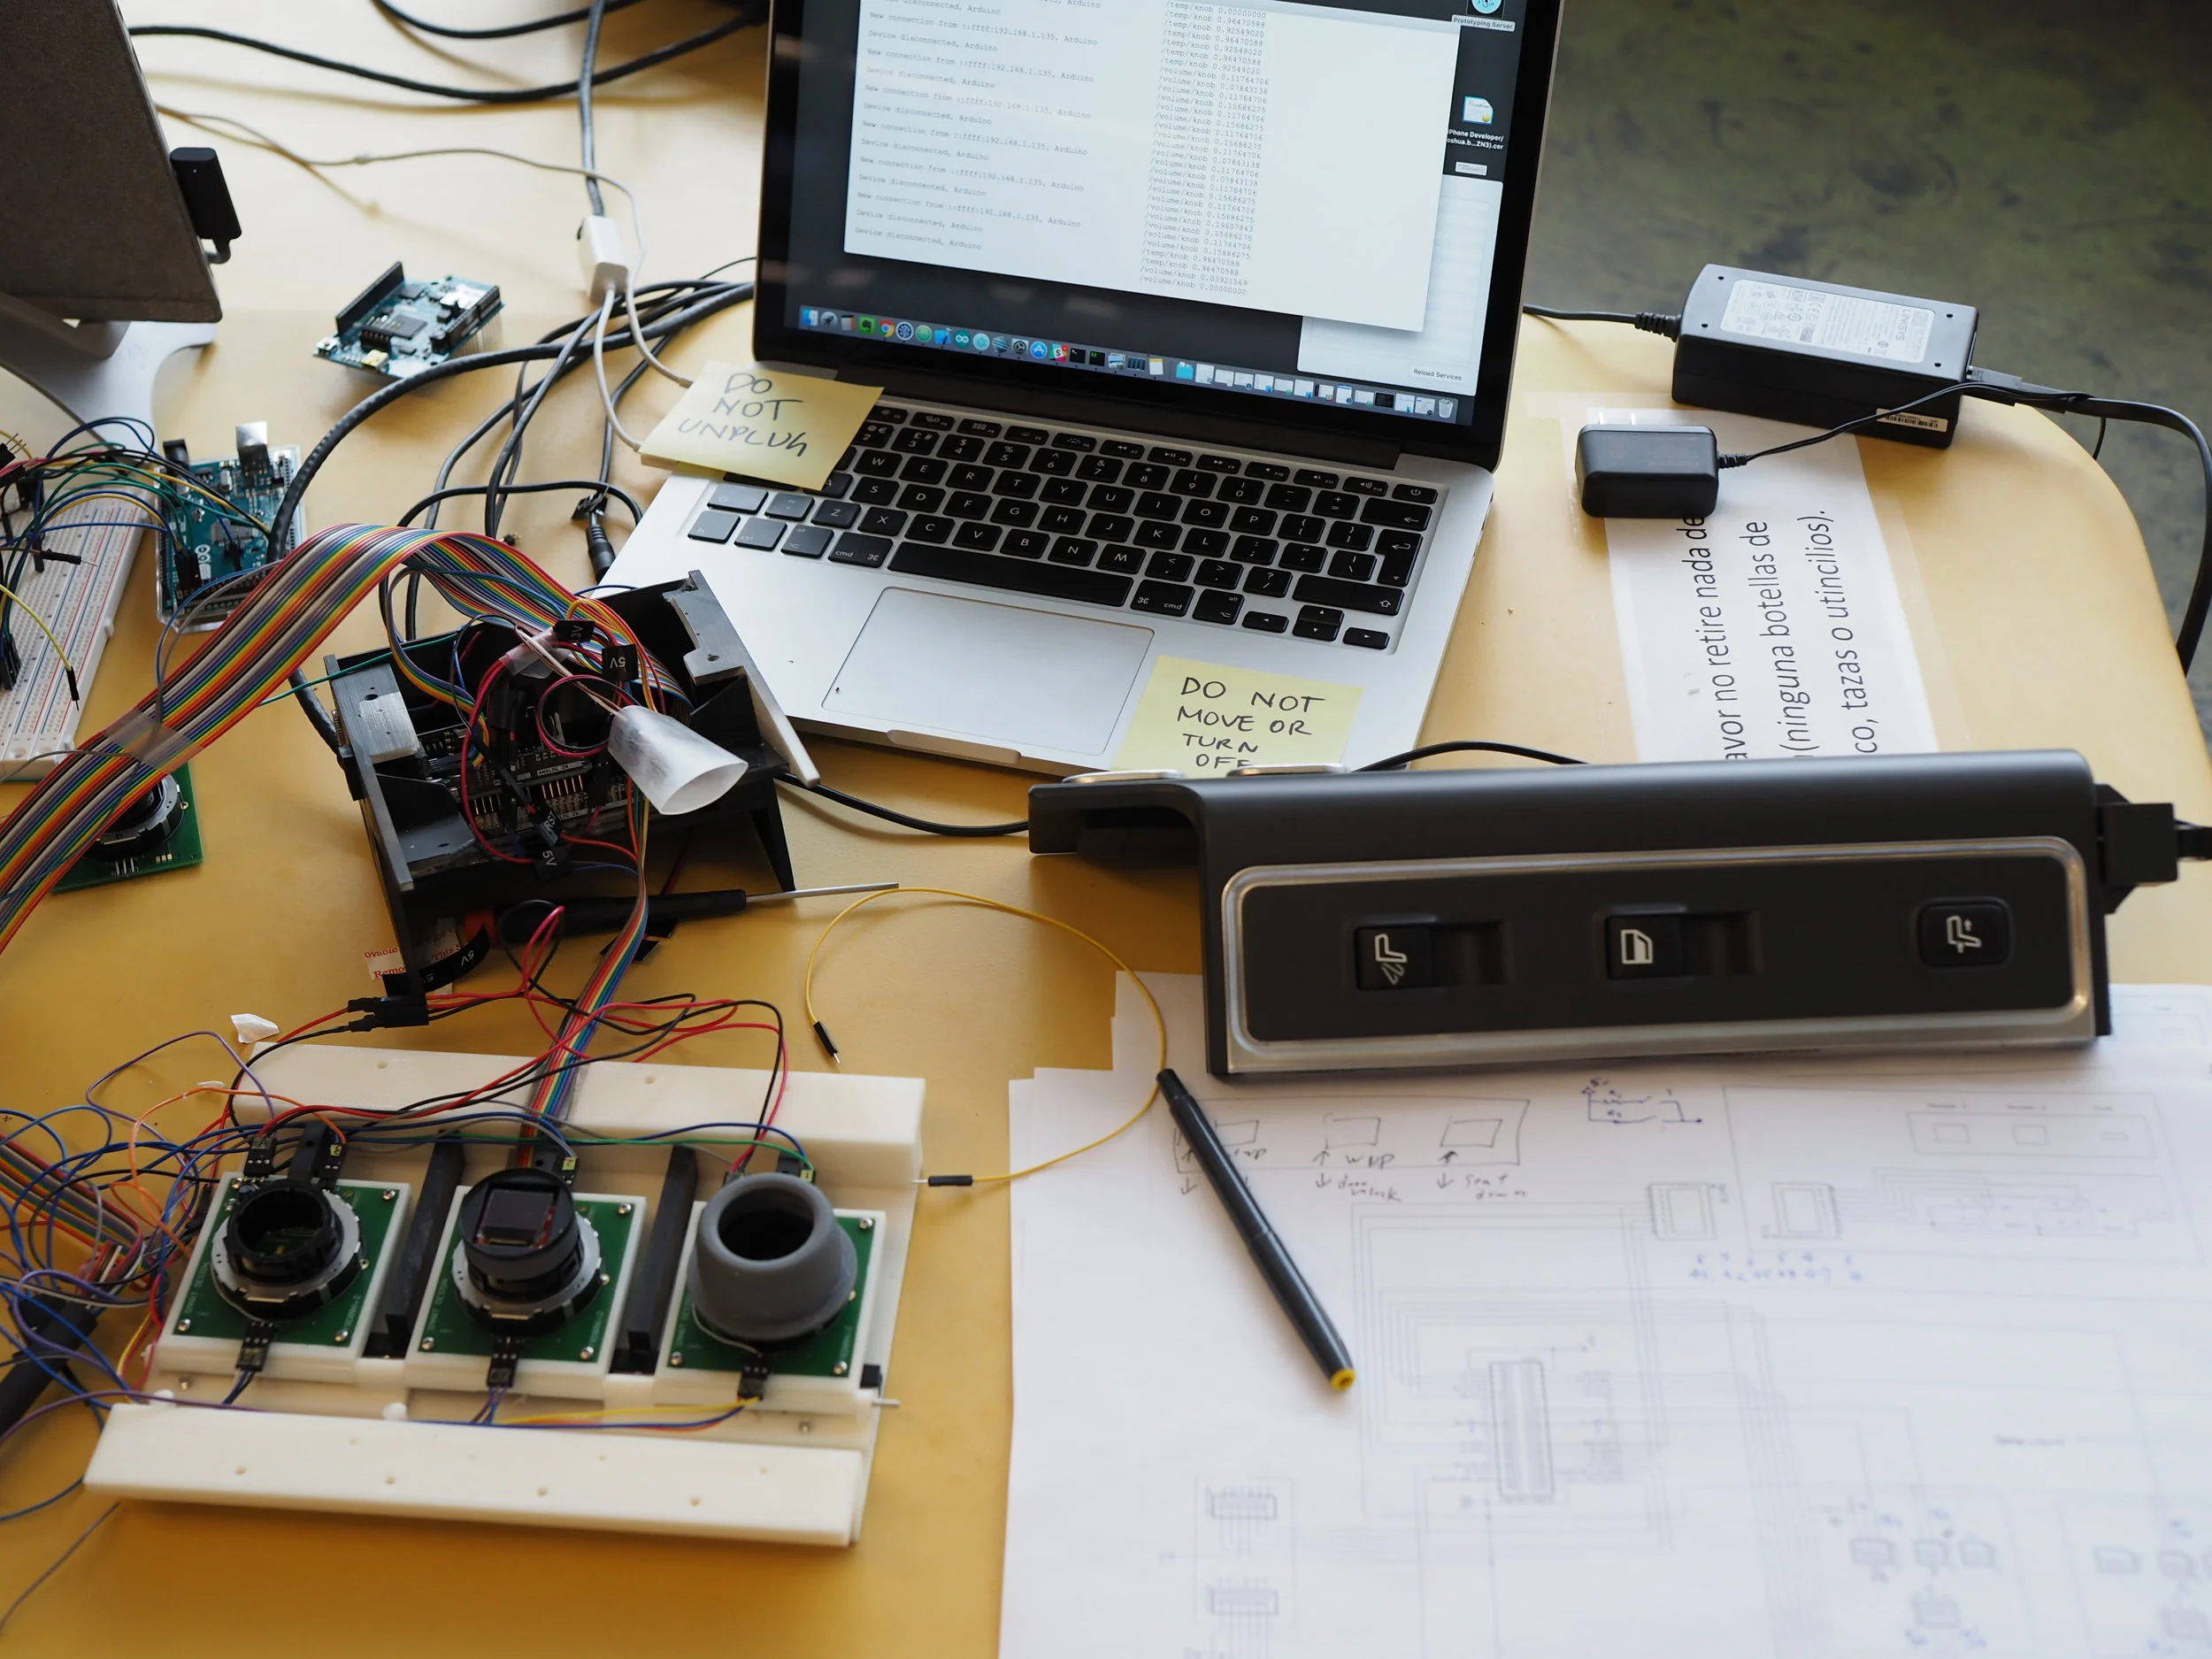
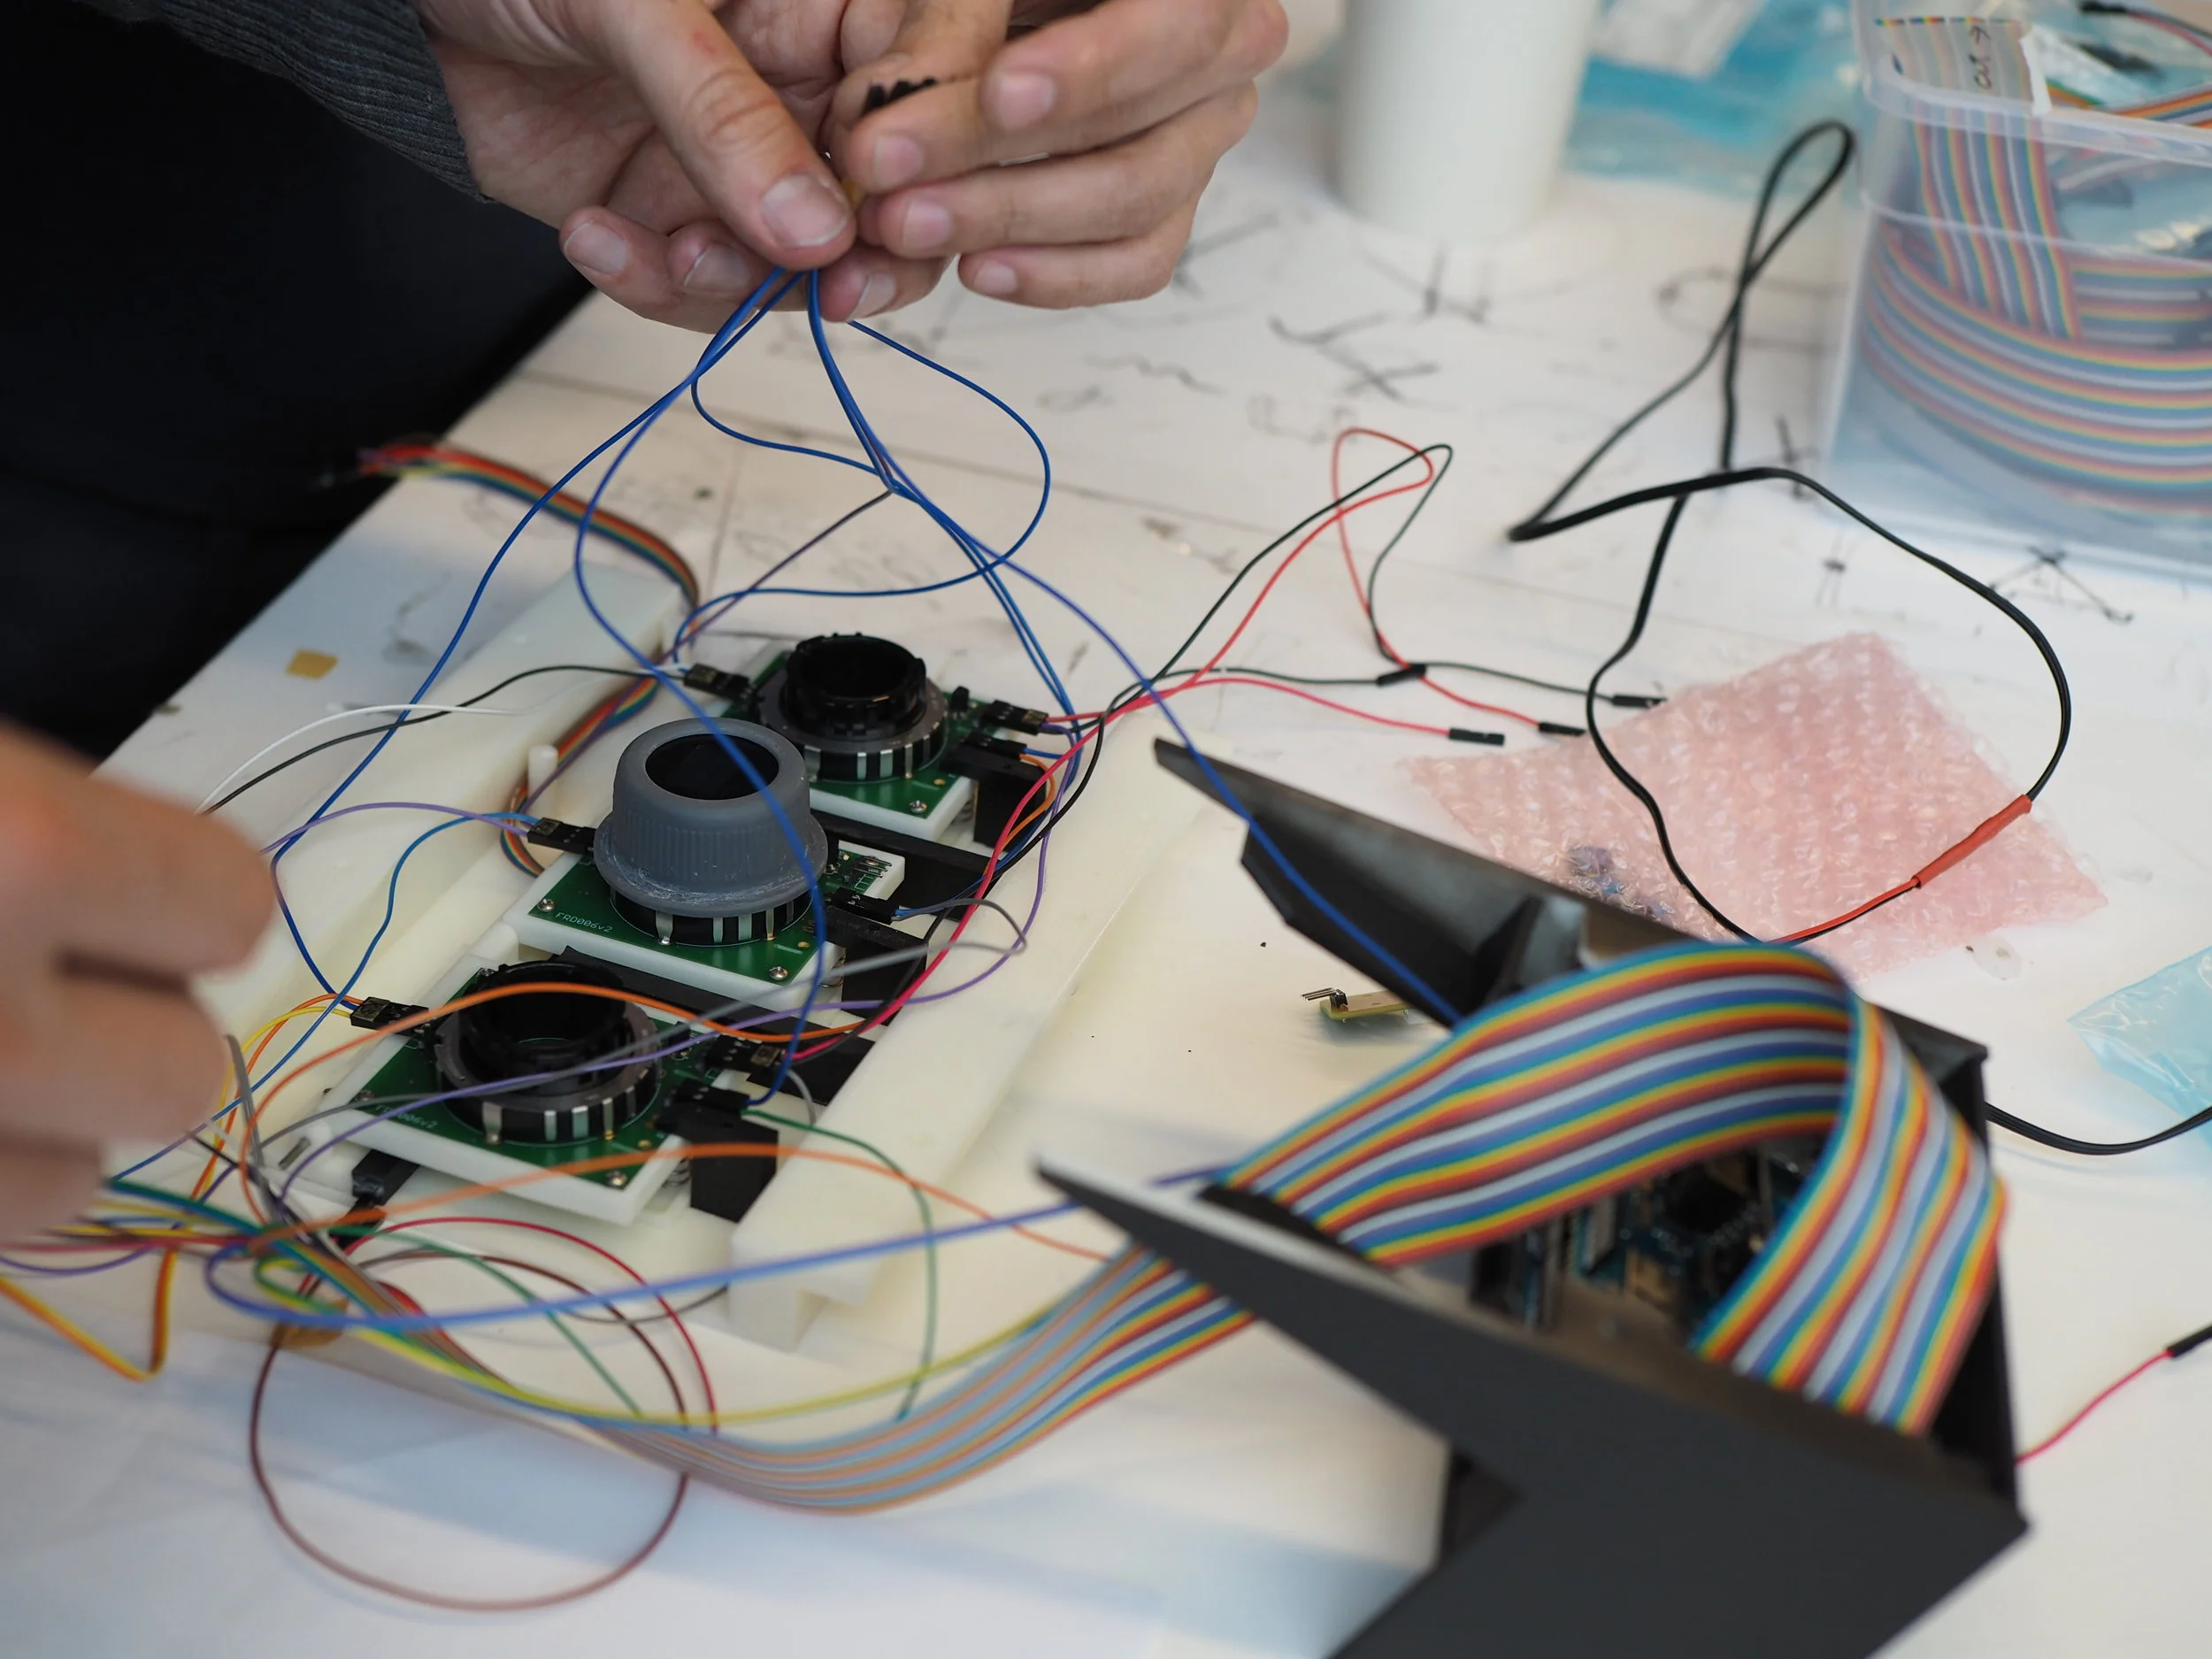
I architected and developed a real-time network consisting of a WebSocket server running on a MacBook Pro, 5 client applications (one Arduino and 4 iOS devices), and a high-speed Linksys router. The team comprised myself, an Industrial Designer, Interaction Designer, UX Researcher, Visual Designer, Mechanical Engineer and Electrical Engineer.
Additionally I accompanied the team in Shanghai for several weeks of user testing, iterated over 2 rounds of user feedback, created setup guides & developer documentation, and presented the work to client stakeholders in Detroit at our final handoff meeting.
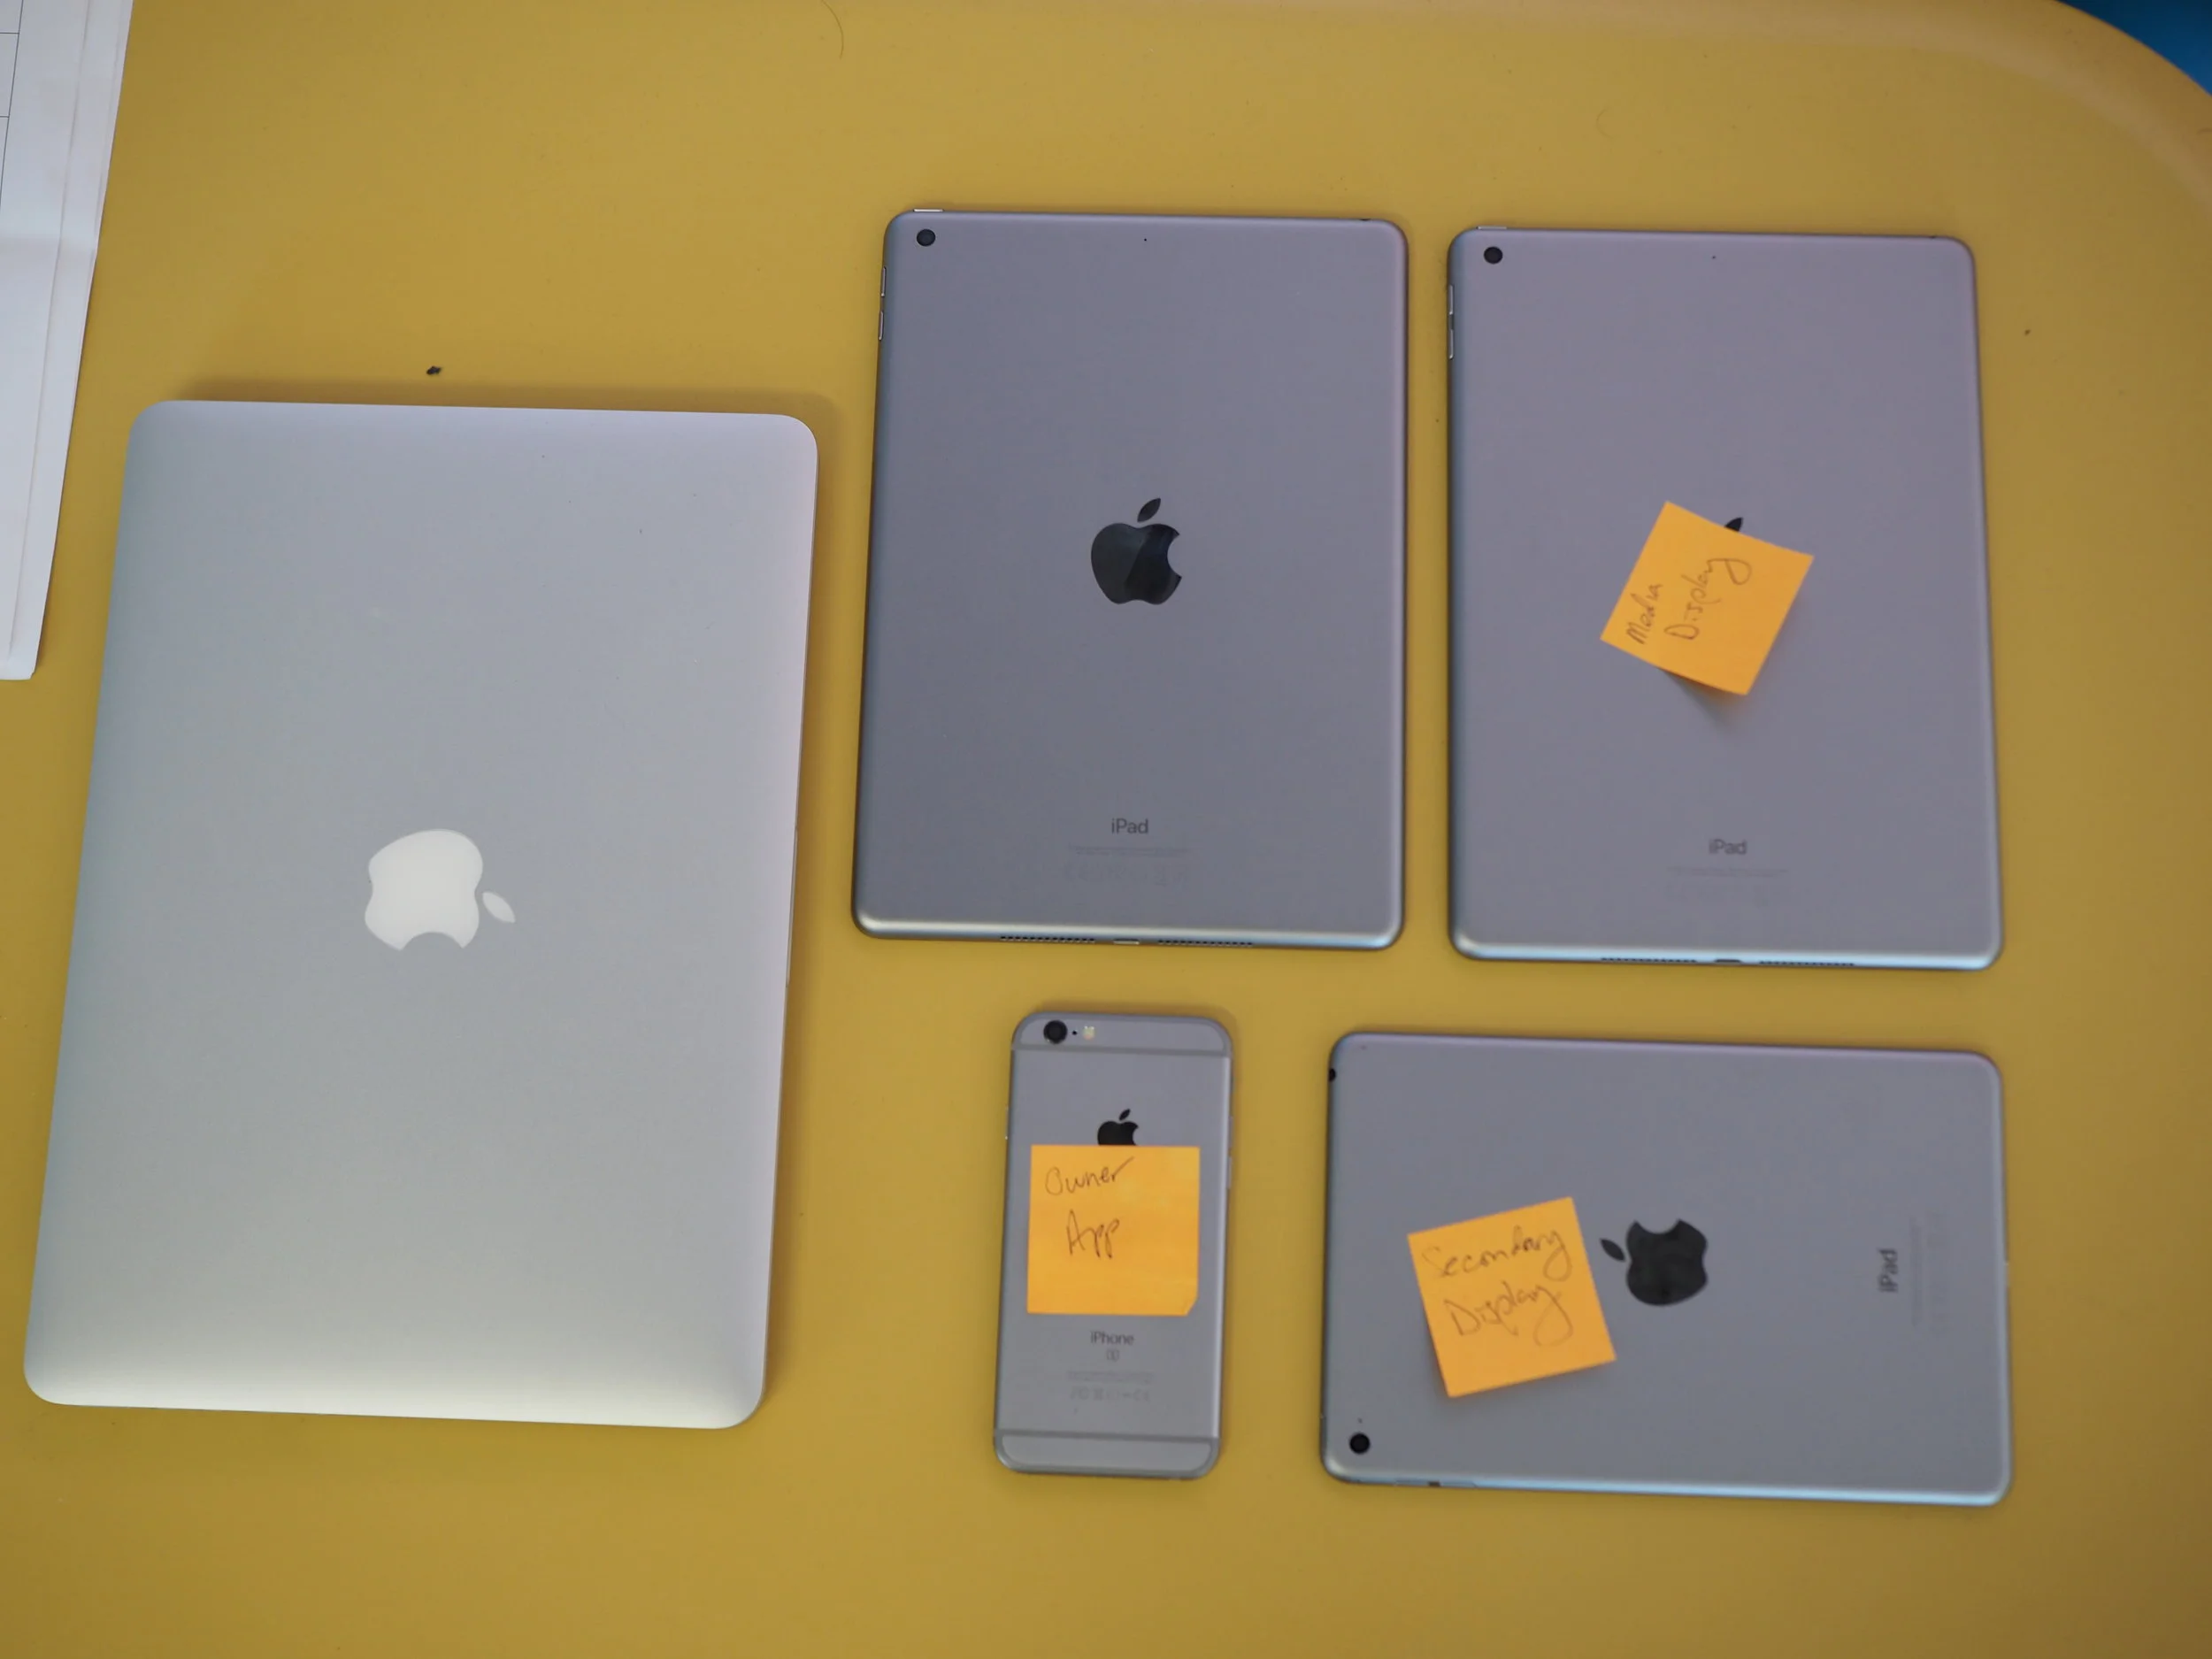
The Apps
Technology
Primary requirements were that all devices talk to each other in real time, such that a value change on one device is reflected on all others. All features required for the first round of user testing had to be completed in 6 weeks for an initial client demo and transport to China. Pixel perfection was critical. And above all else the prototypes needed to feel like luxury experiences. I solved using the following technologies:
Local wireless network using a high speed Linksys router
Socket server (NodeJS, WebSockets) with Electron front end for monitoring, running on a MacBook Pro
React Native client apps running on iOS
Internet-connected Arduino

Video Demos
Some UI Components
Toggle Button
Sometimes the toggle button is just a toggle button - tap to turn on, tap again to turn off. But these buttons can also behave like sets by listening to other socket values, such that a button can be turned off when another button is turned on and vice versa (see attribute canceledBy below). An example of this is changing the fan mode: face, feet, or face and feet. They also support declaring initial button state, on/off image states, image size and button size.
<ToggleButton
  socketID='/fan/feet'
  on='false'
  canceledBy={['/fan/face-feet', '/fan/face']}
  images={['airdirection_feet','airdirection_feet_off']}
  imageWidth={50}
  imageHeight={50}
  size={100}
/>
Stepper Button
A single stepper button changes a value by tapping it repeatedly. It can also be turned off by listening to other socket values. In this example the user adjusts the seat cooling level and switches it off by turning on the heated seat feature.
<StepperButton
  socketID='/seat-left/cooling'
  canceledBy={['/seat-left/heated-seat']}
  images={['seat_cooling_00', 'seat_cooling_03','seat_cooling_02', 'seat_cooling_01']}
  imageWidth={51}
  imageHeight={69}
  totalSteps={3}
  initialSteps={-1}
/>
Things I’m glad I did (and Didn’t Do)
Build the native apps using web technologies. We had a hard deadline to begin user testing in China, and time was a luxury we did not have. From the get-go I had a very strong feeling that we would need to bring on another engineer to finish the primary requirements, and by choosing React Native for the iOS clients it would be relatively easy to find one on short notice. Indeed we hired a contractor to build a small amount of screens during the final week of development.
Build 4 bespoke iOS apps. It was tempting to build one responsive app that would adapt to iPad, iPad Mini, and iPad, since much of the functionality was shared. When I began the project the initial designs were in progress, and with that uncertainty I decided that a single responsive app could become unwieldy and difficult to debug. I was rewarded during the first sprint when each design was different enough to make a single responsive app untenable.
Ad hoc client-side socket listeners. It was also tempting to use the Singleton pattern to monitor all socket values on each client, in which listeners would be created on load of each app. At the very beginning of the project, uncertainty about exactly how and where the complete system would be set up led me to solve for the risk of devices losing connectivity and router shutdown (somebody accidentally unplugs the router, etc). It would be clunky and decidedly unluxurious to restart apps during user testing. So every screen loaded only the listeners required to handle all values for the current view.
I didn’t build app state. Because the team was not testing anything that required app state, I simply didn’t build it. Each screen reacted only to value changes over the network. It was tempting to use a Firebase (or similar) back end and local state management, but uncertainty about connectivity over the Great Firewall, and the additional development time set up Redux, RethinkDB, etc, made it too risky.
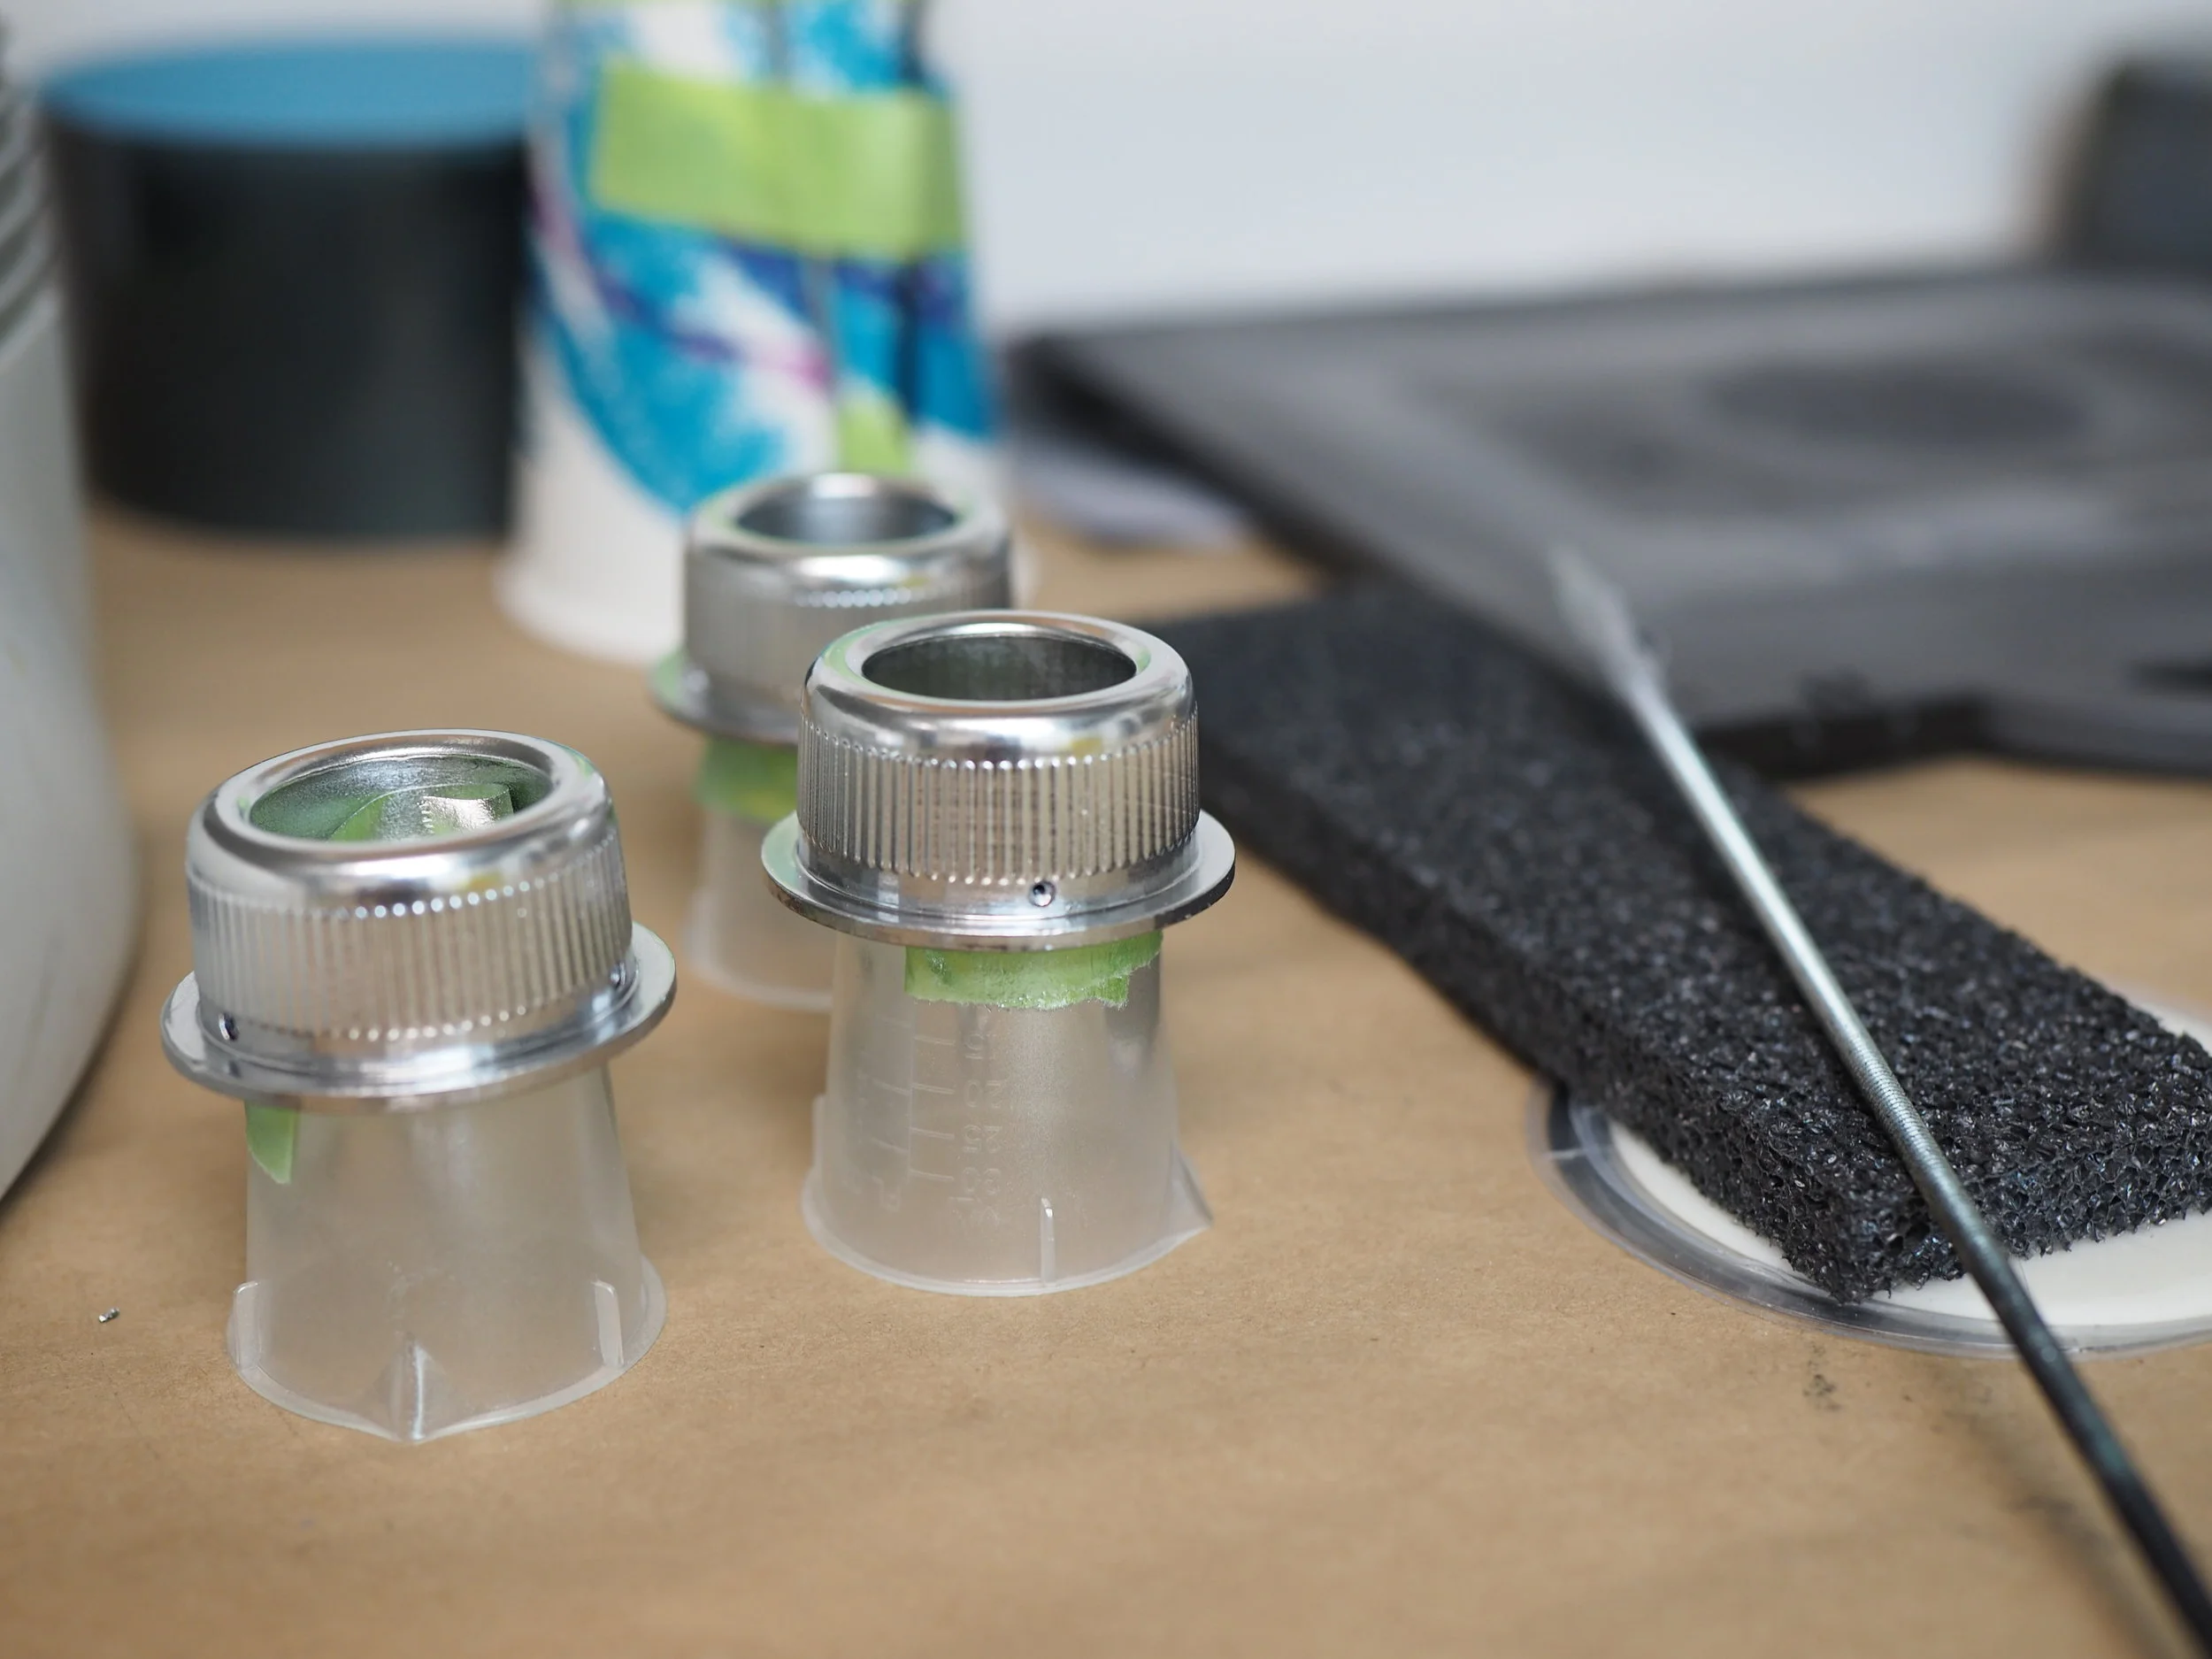
Random Process Photos